Showing posts with label Vegetables. Show all posts

Monday, 15 June 2020

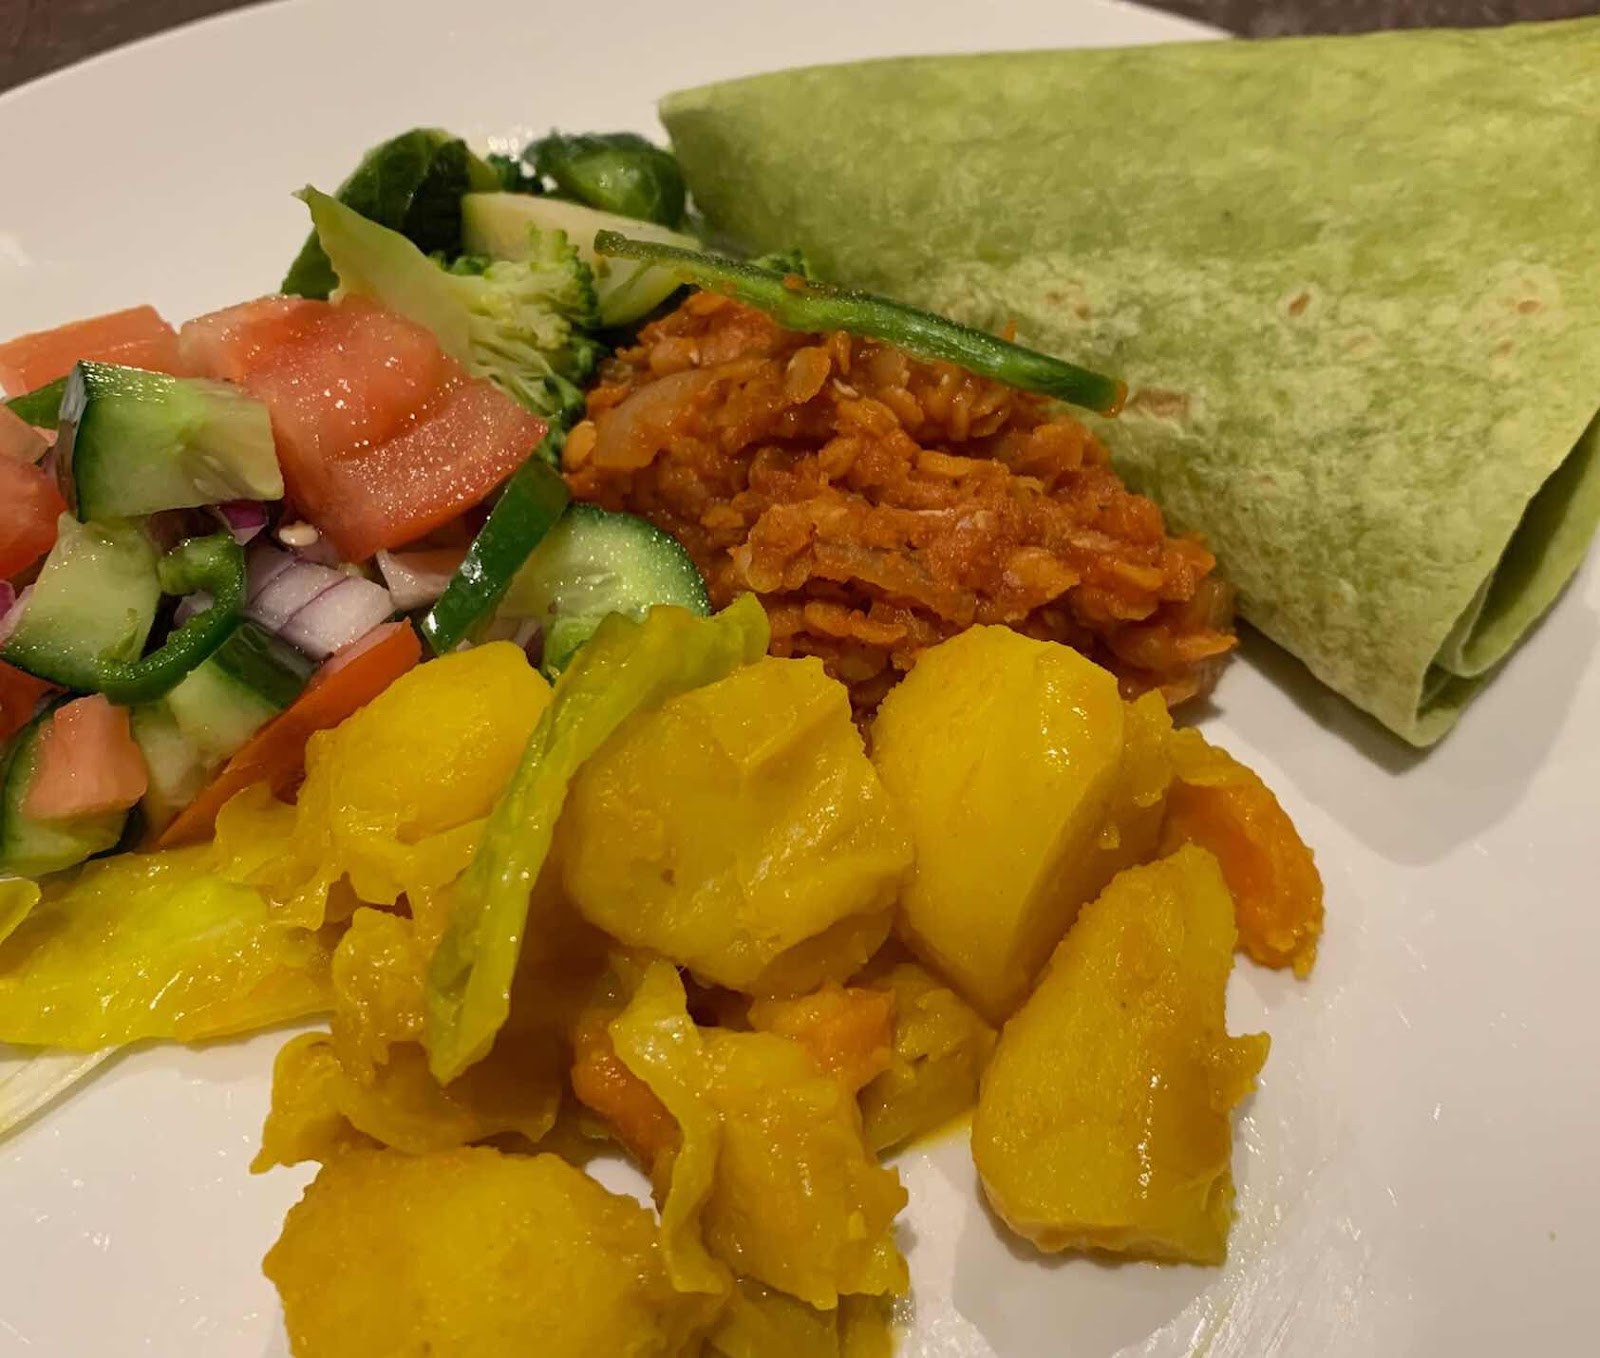
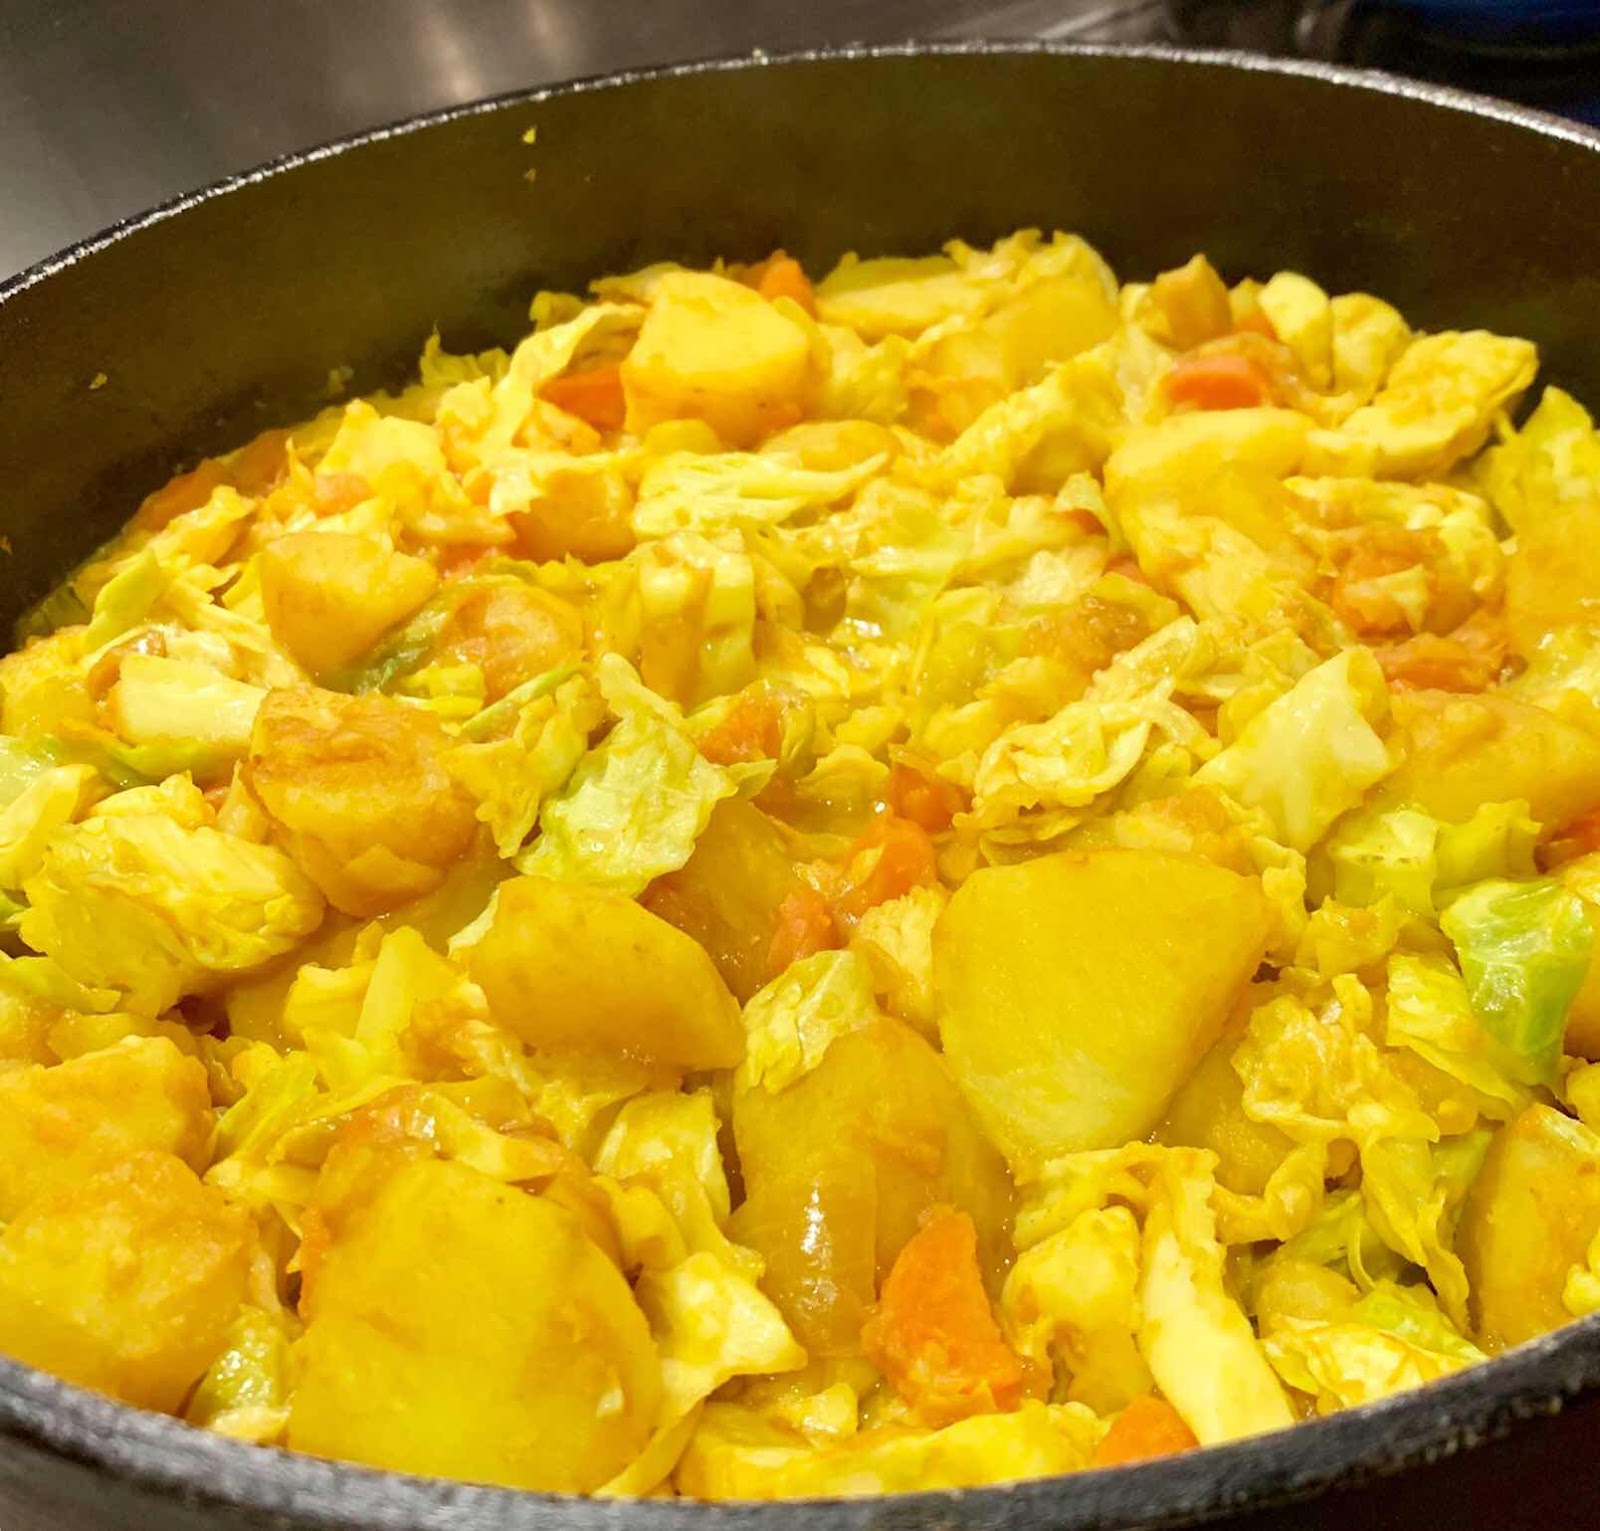
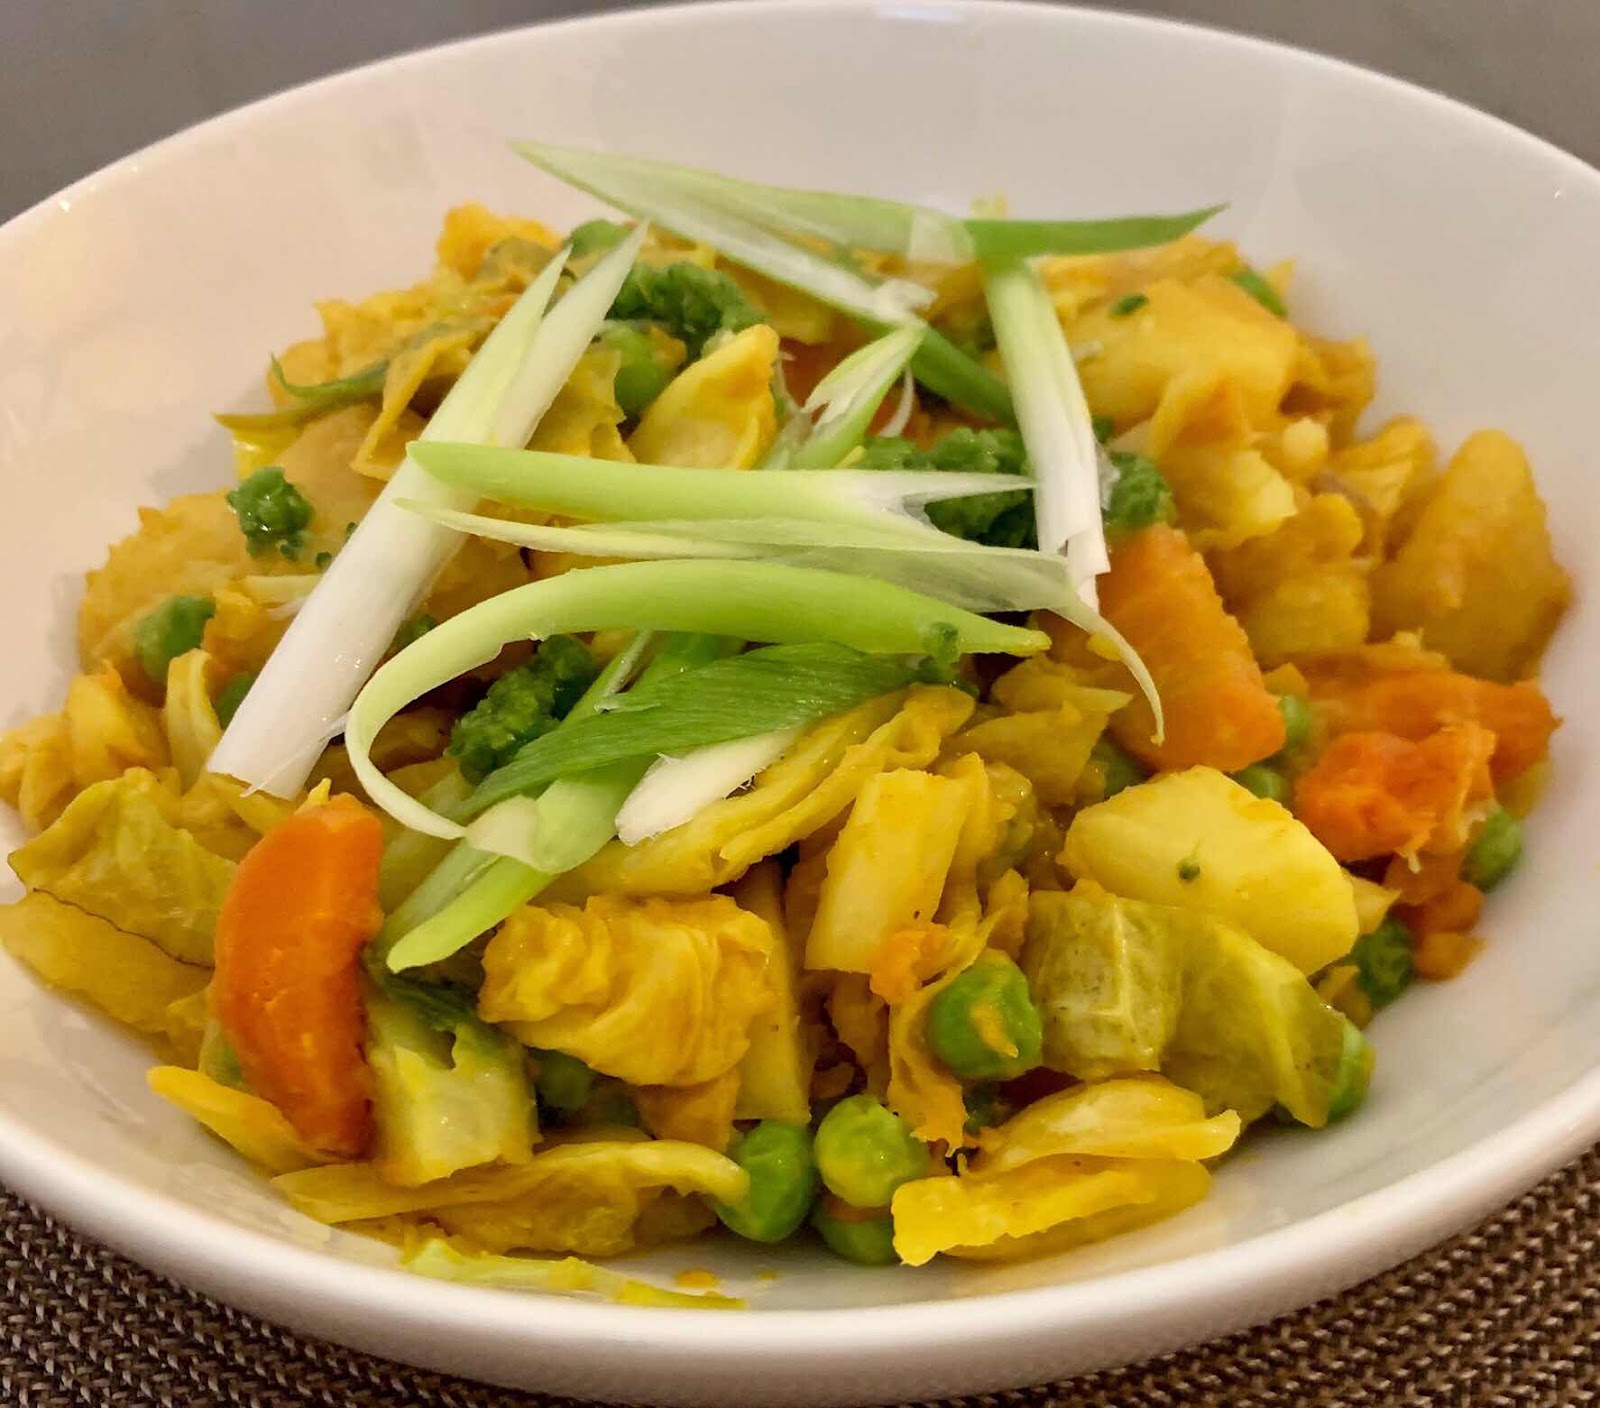
Ethiopian Style Potato and Vegetable Stew

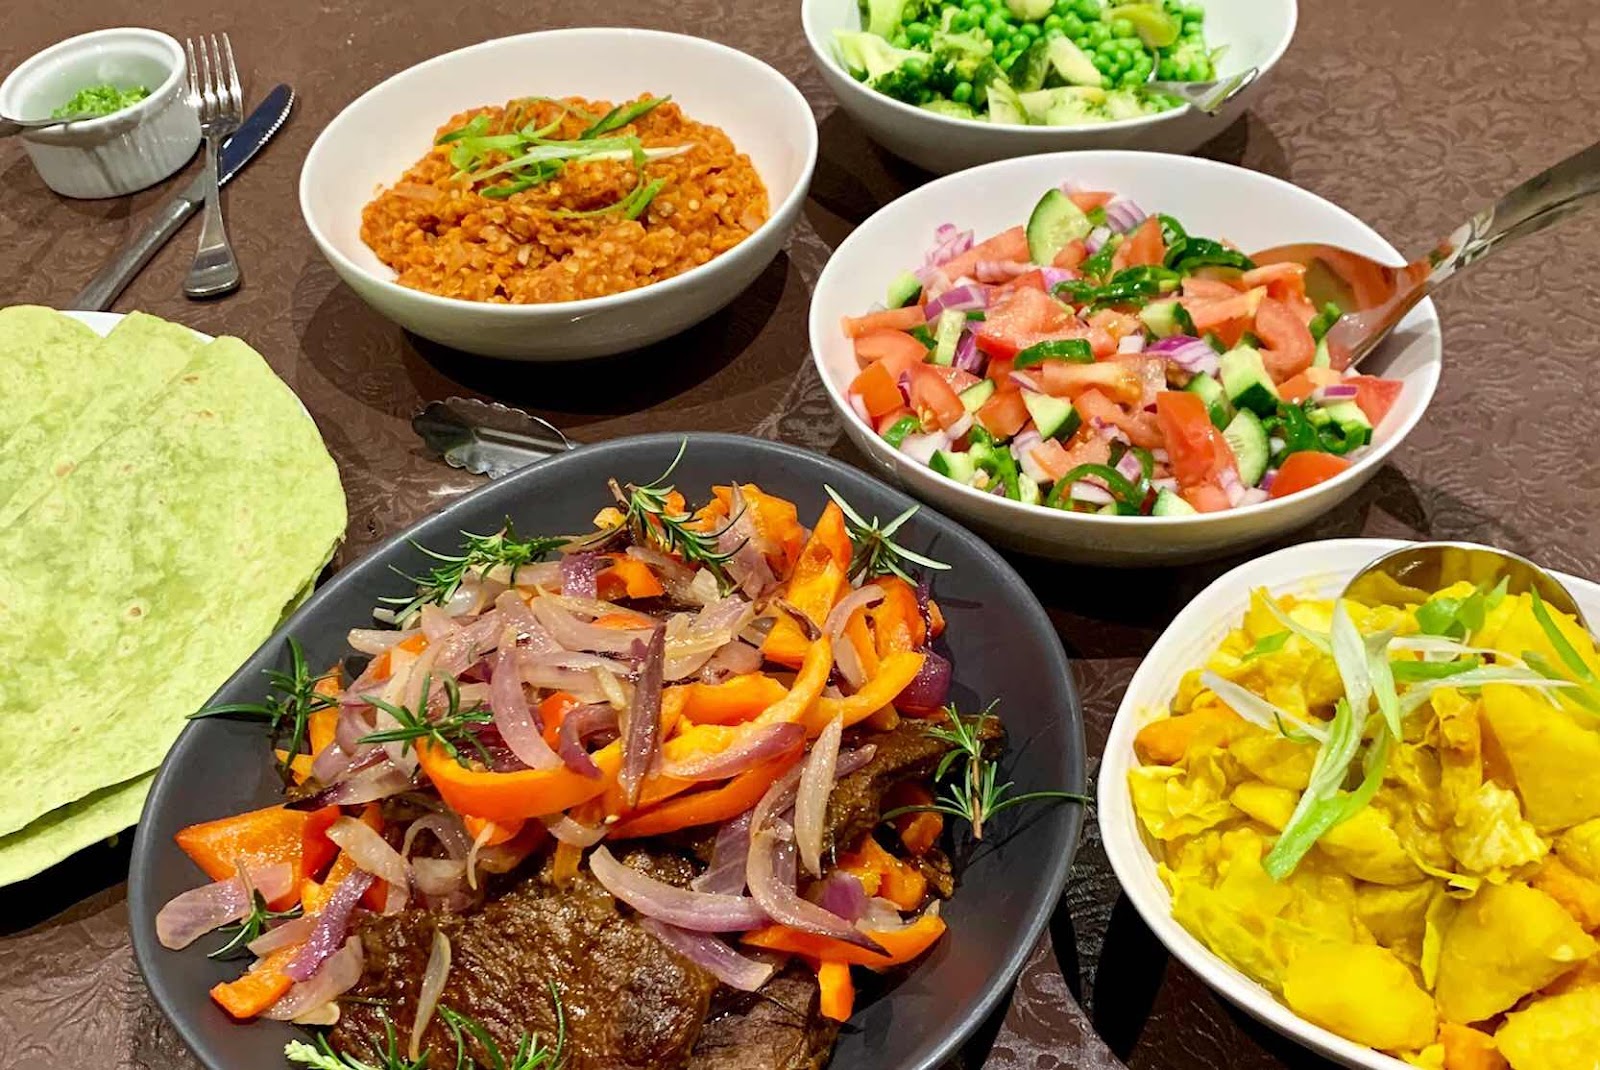
This is my interpretation of a dish that I had in restaurant. The amount of spice is easily adjusted, this version is lightly spiced but could easily have more spice or extra chilli. I make this quite often for ‘Meat Free Monday’ and serve it with a lentil dish similar to Dahl, flat breads, rice and a salad. 


I often add some frozen peas or chopped green beans for some extra colour.


 It is also good as part of banquet style meal which may also include a meat dish. 


Leftover  stew reheats very well in the microwave.

Ethiopian Style Potato& Vegetable Stew

2 teaspoons or more Berbere  spice mix  or other African spice blend
1 tablespoon turmeric powder
Small amount of oil to fry spices

3 or more cloves garlic, crushed


1 large onion, finely diced
2 large carrots, large dice
6 potatoes(approx 1kg), cut into bite sized pieces
2 cups shredded cabbage
fresh coriander, chopped

1 -2 green chillies, finely chopped to serve

Optional
Add other vegetables that you may like to add.
I often add frozen peas or some chopped green beans to the mix.


Put oil in saucepan, add spices and fry over low heat until fragrant, add onions and garlic and continue to fry, while mixing until onions are slightly softened. Add a little water if necessary to stop spices burning.
Add potatoes and carrot and a little more water and mix well. Cover and reduce heat, cook until potatoes are almost soft. Stir gently so as not to break up potatoes and add more water if necessary. Add cabbage and mix through, cover and cook for a few more minutes.
Top with chopped green chilli


Friday, 5 June 2020

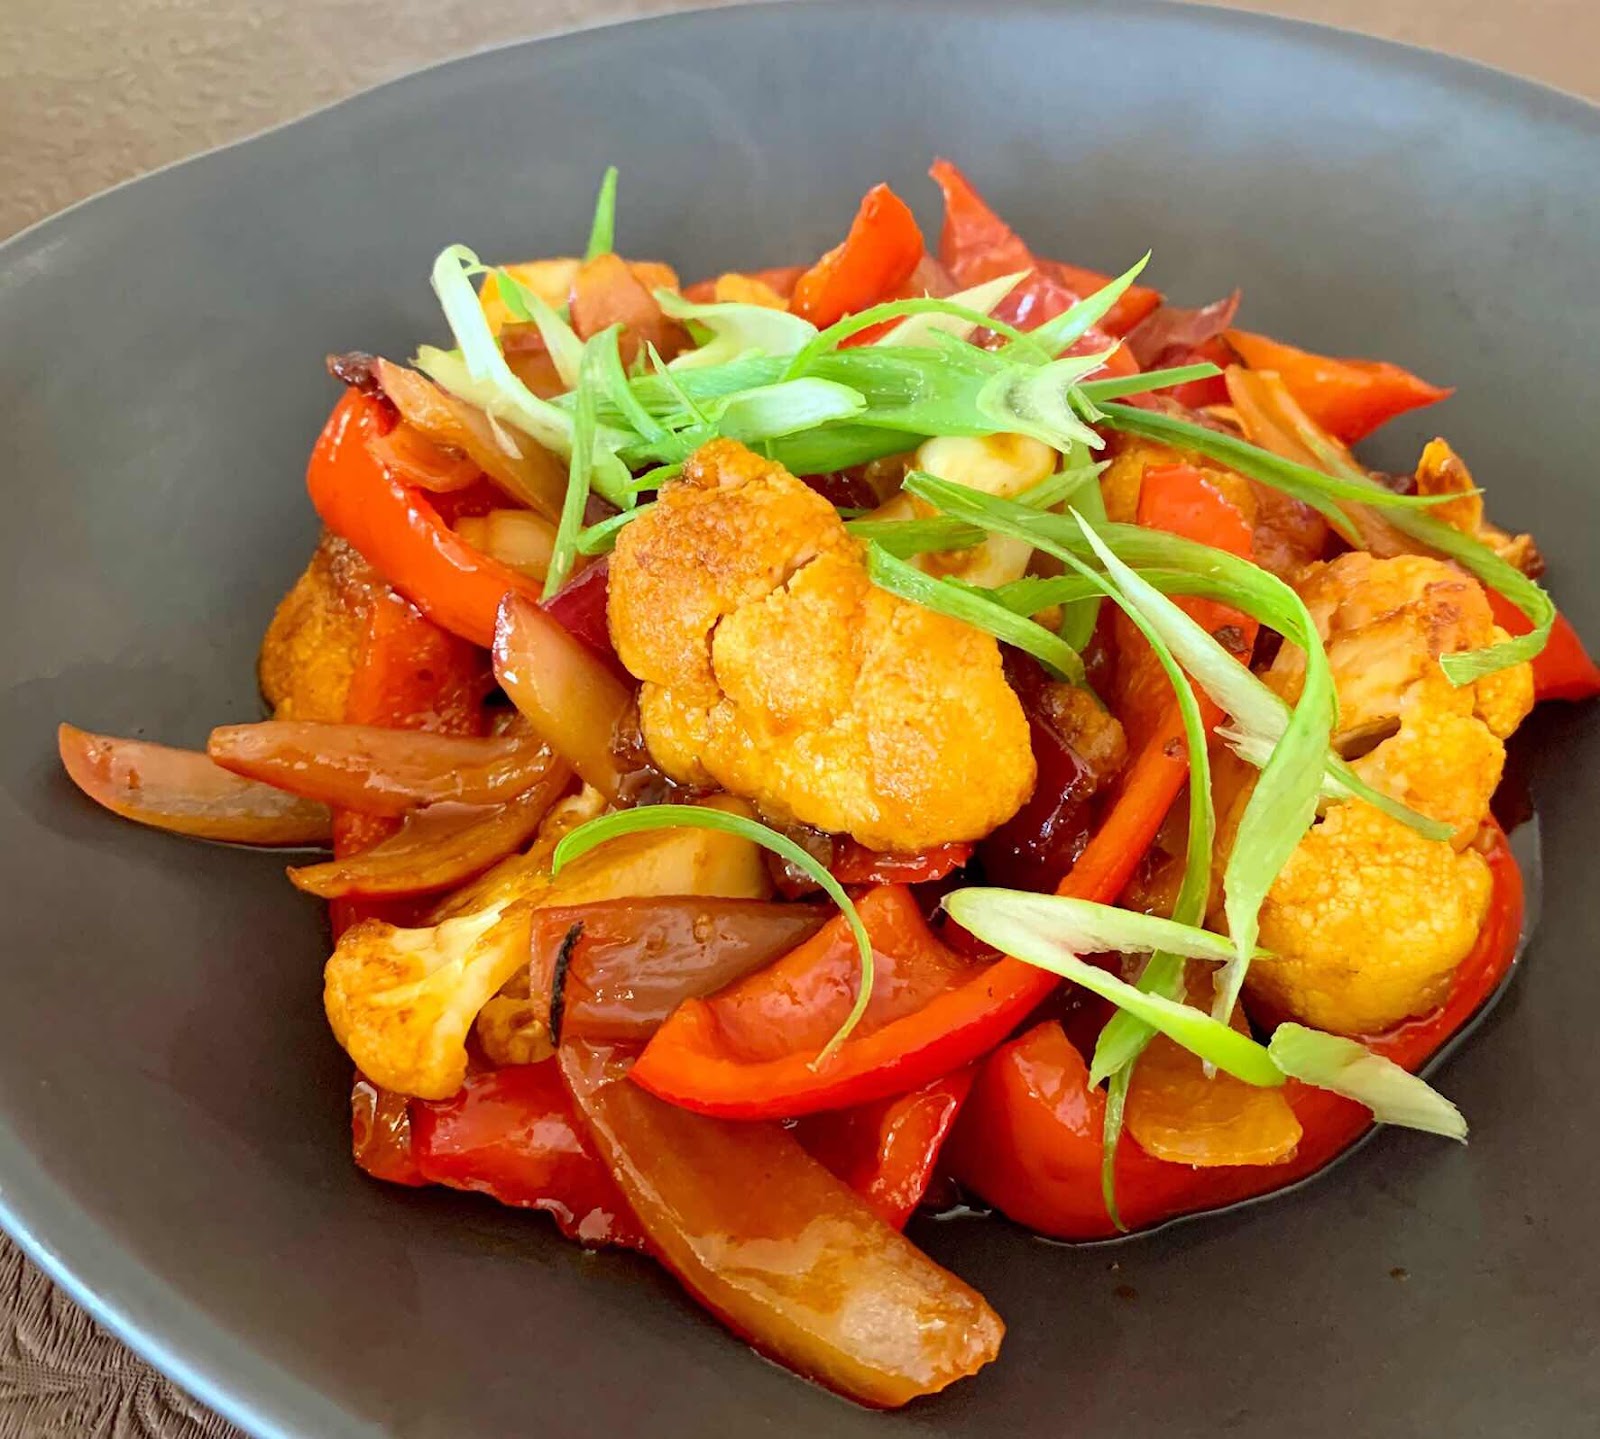
Glazed Cauliflower Stir Fry

This glazed cauliflower dish has become a firm favourite. Reminiscent of the sweet and sour of my childhood, with no pineapple or meat, it makes a good dish for vegetarians and vegans and also a good vegetable dish to serve with grilled or barbecued meat or chicken. Leftovers reheat well in the microwave.


Glazed Cauliflower Stir Fry
1/4 cauliflower
1 red capsicum
1 red onion
Oil for stir frying

Optional
Spring onions, thinly sliced to serve
Glaze
2 tablespoons apple cider vinegar
2 tablespoons tomato sauce
2 tablespoons soy sauce
2 tablespoons maple syrup
1 -2 cloves garlic, crushed

Combine ingredients for the glaze.
Wash and cut cauliflower into bite sized pieces
Wash capsicum. Remove stalks and seeds and cut flesh into quarters lengthwise and then each piece into strips diagonally.
Peel onion and slice into thin strips.
Heat a little oil in a pan, add cauliflower and fry until golden brown. Add onions and capsicum, mix well and continue to cook for a minute. Reduce heat and cover and cook a further 2 minutes.
Remove lid and increase pan until really hot. Pour over the gaze and allow to reduce a minute or so until thick and coats the vegetables.

Serve garnished with thinly sliced spring onions.

Tuesday, 22 October 2019

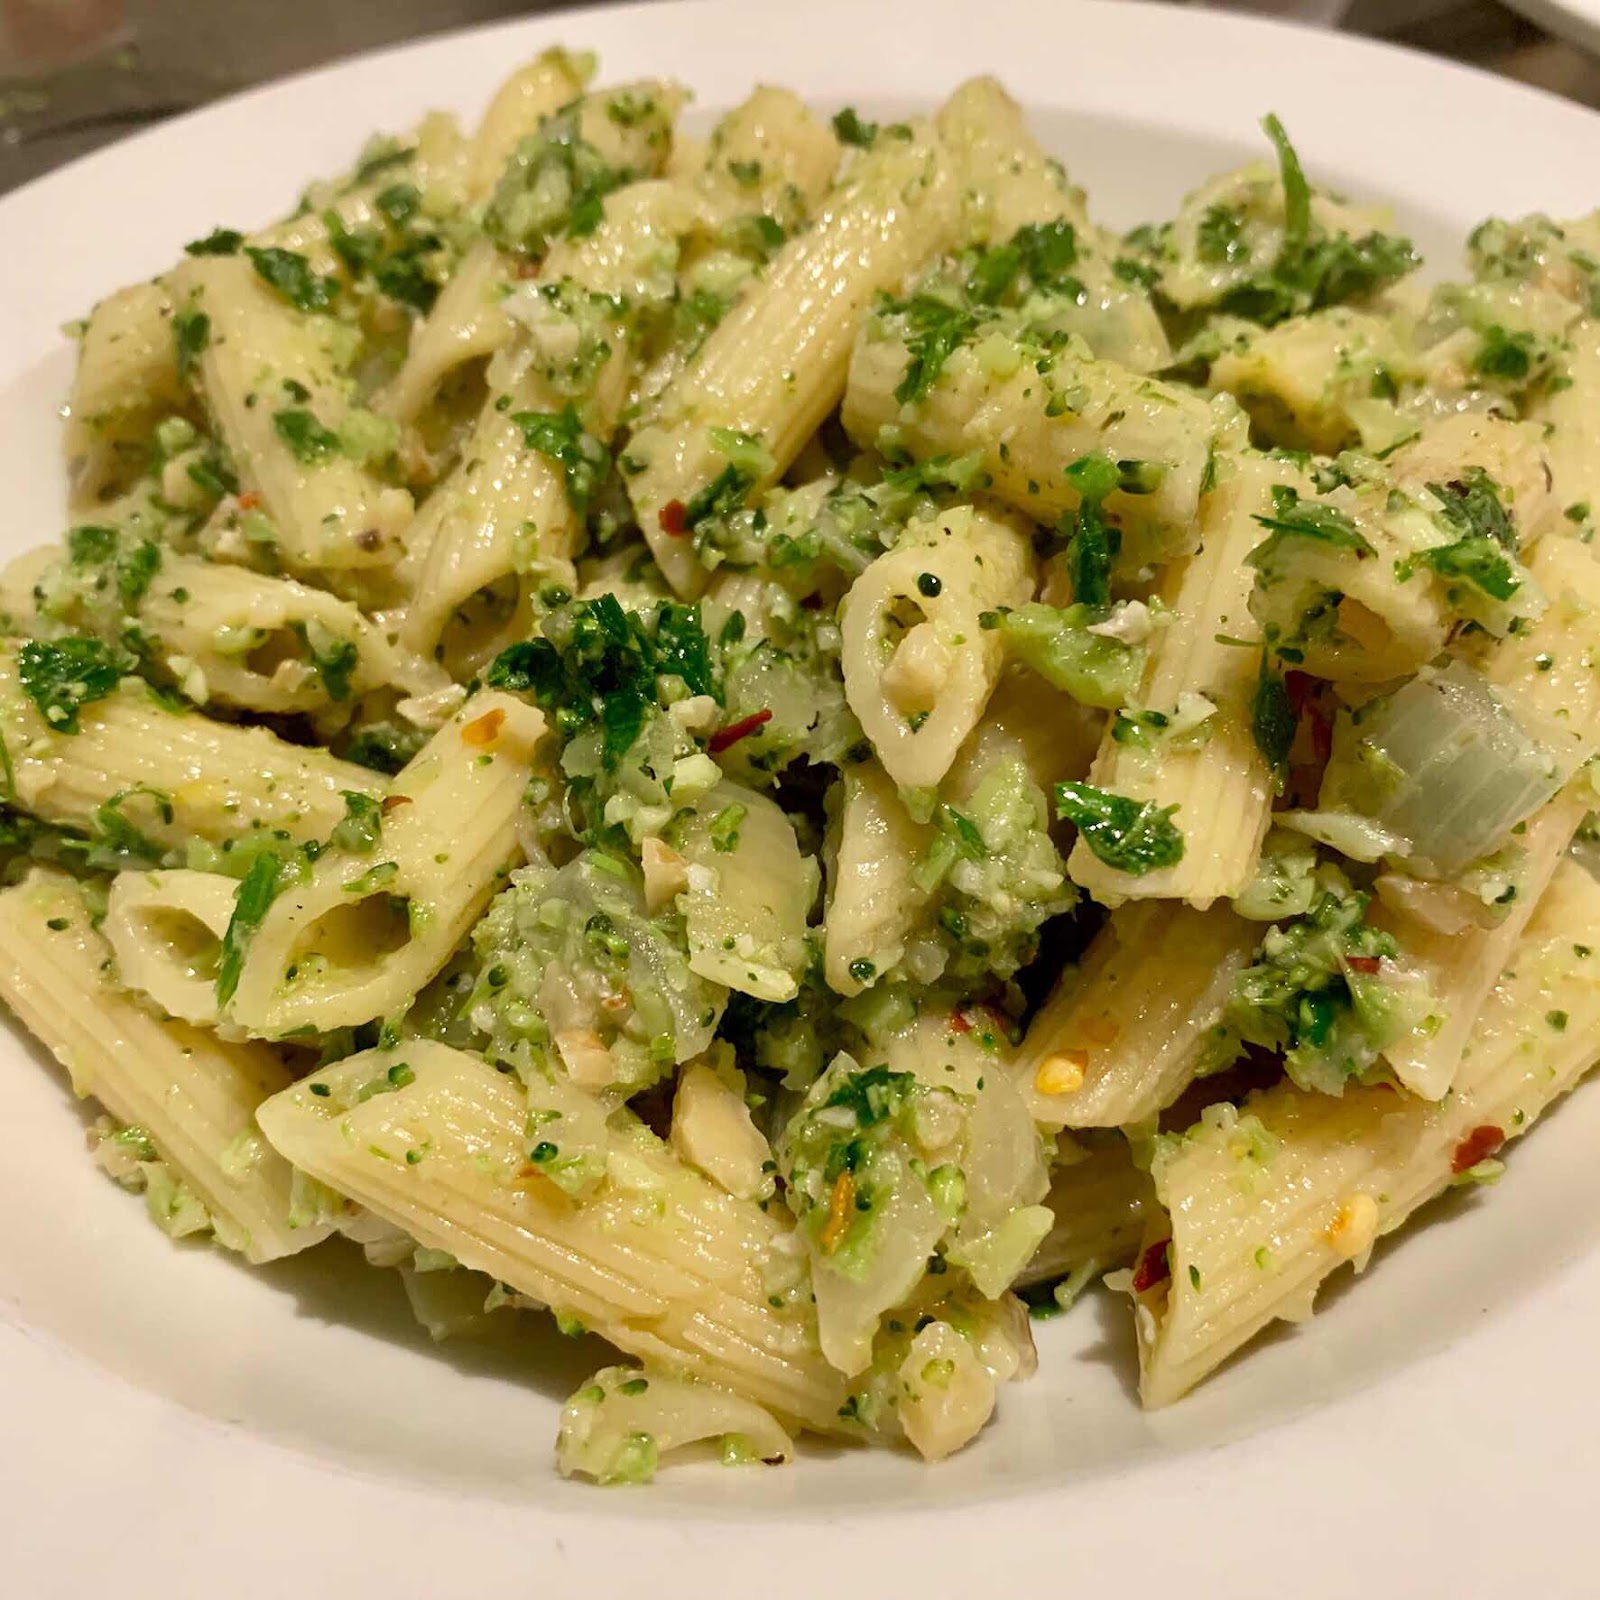
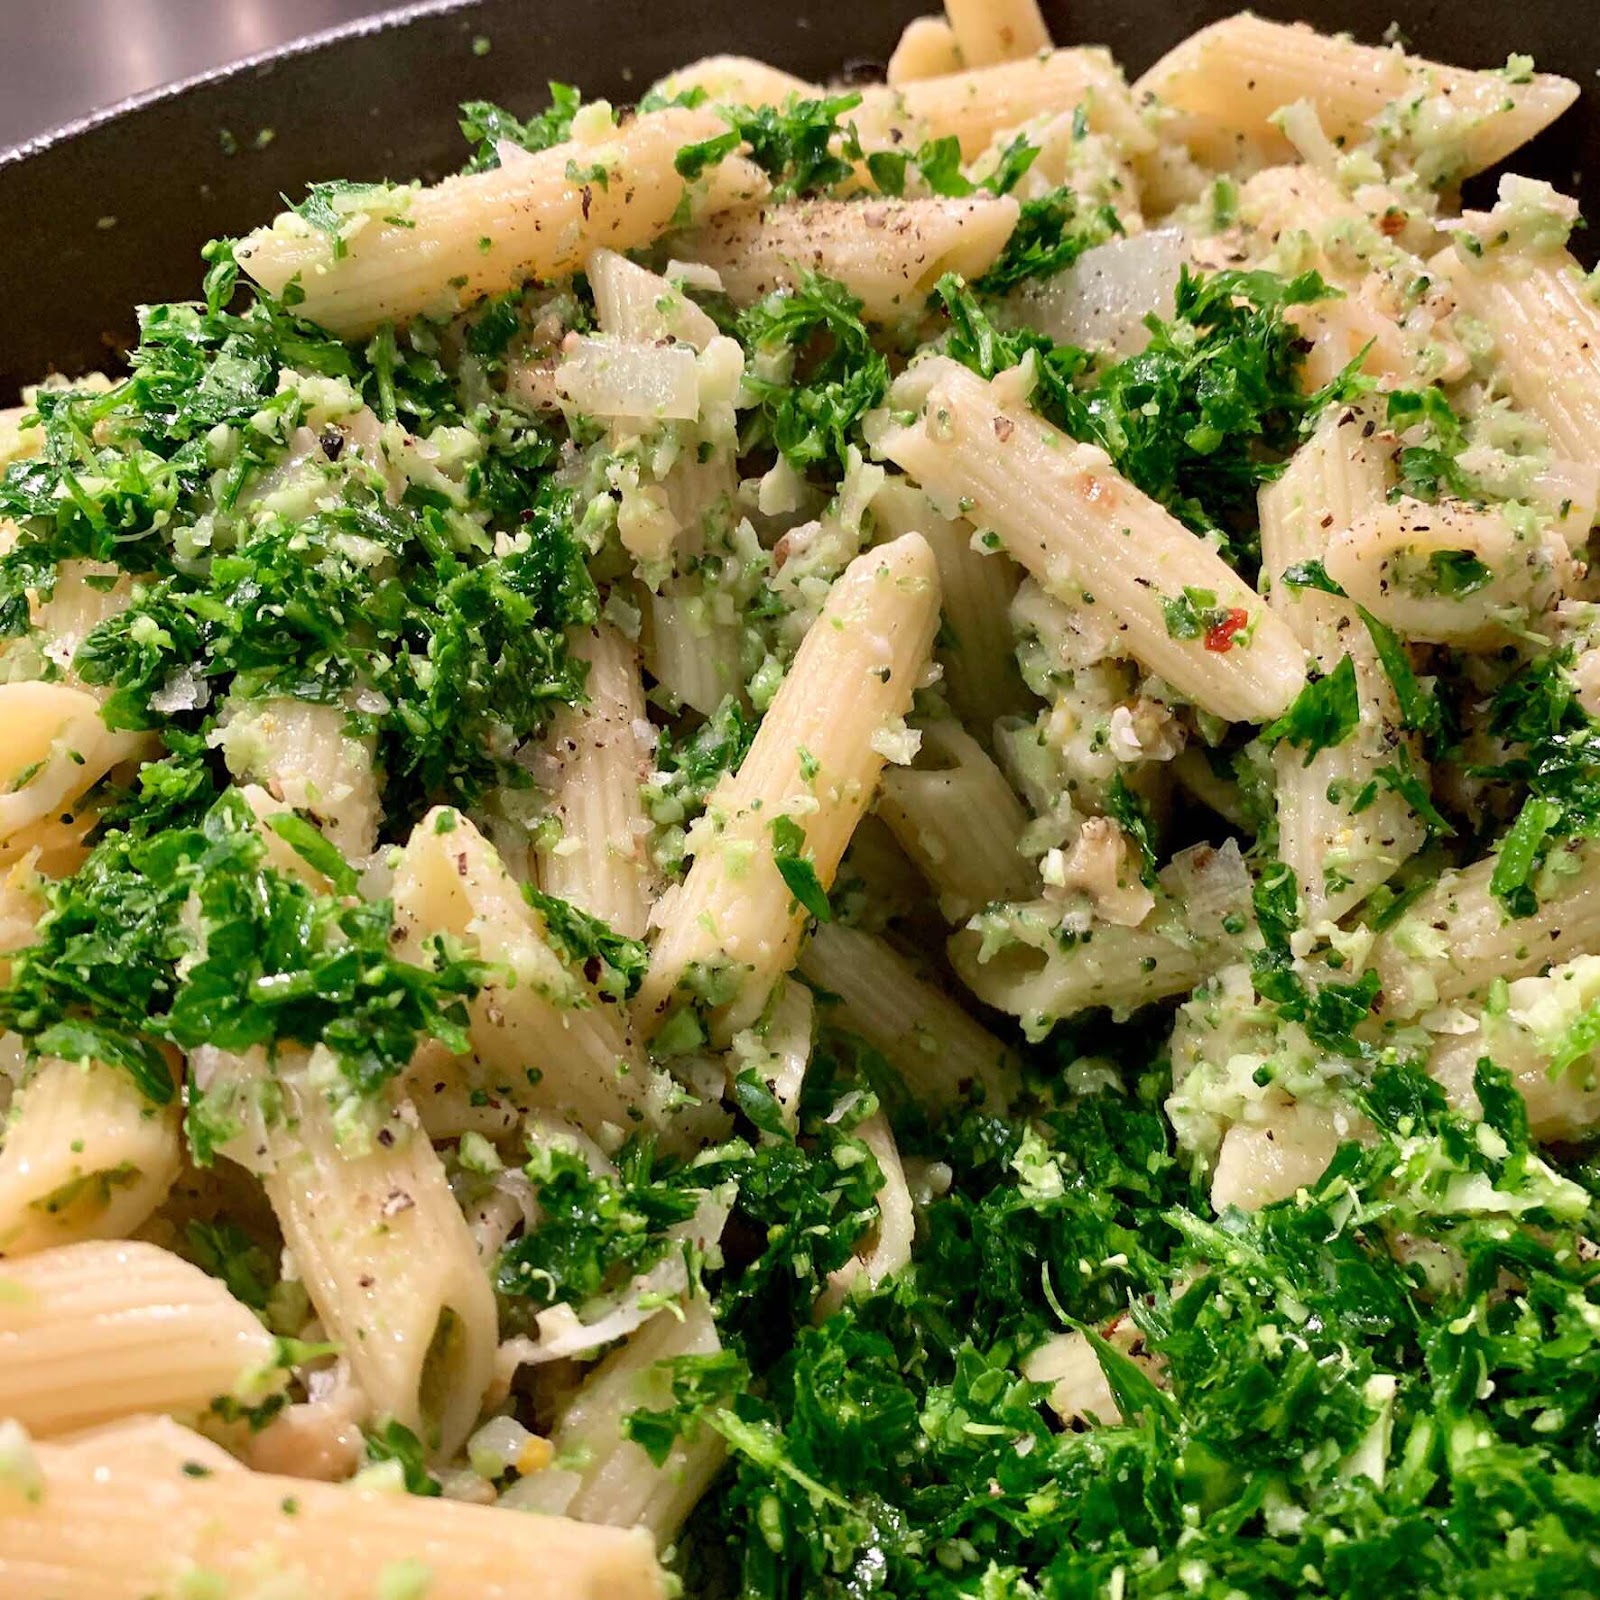
Pasta with Broccoli Pesto

Another of my Meatless Monday offerings. This dish is very easy and quick to make particularly with a food processor. The very short cooking time for the broccoli and the chopped parsley keeps it tasting fresh while the walnuts add texture. With a bit of organisation it can be ready to eat in the time it takes to cook the pasta. It can be easily adapted to include traditional Parmesan or some meat for non vegans.


 This version is vegan, 


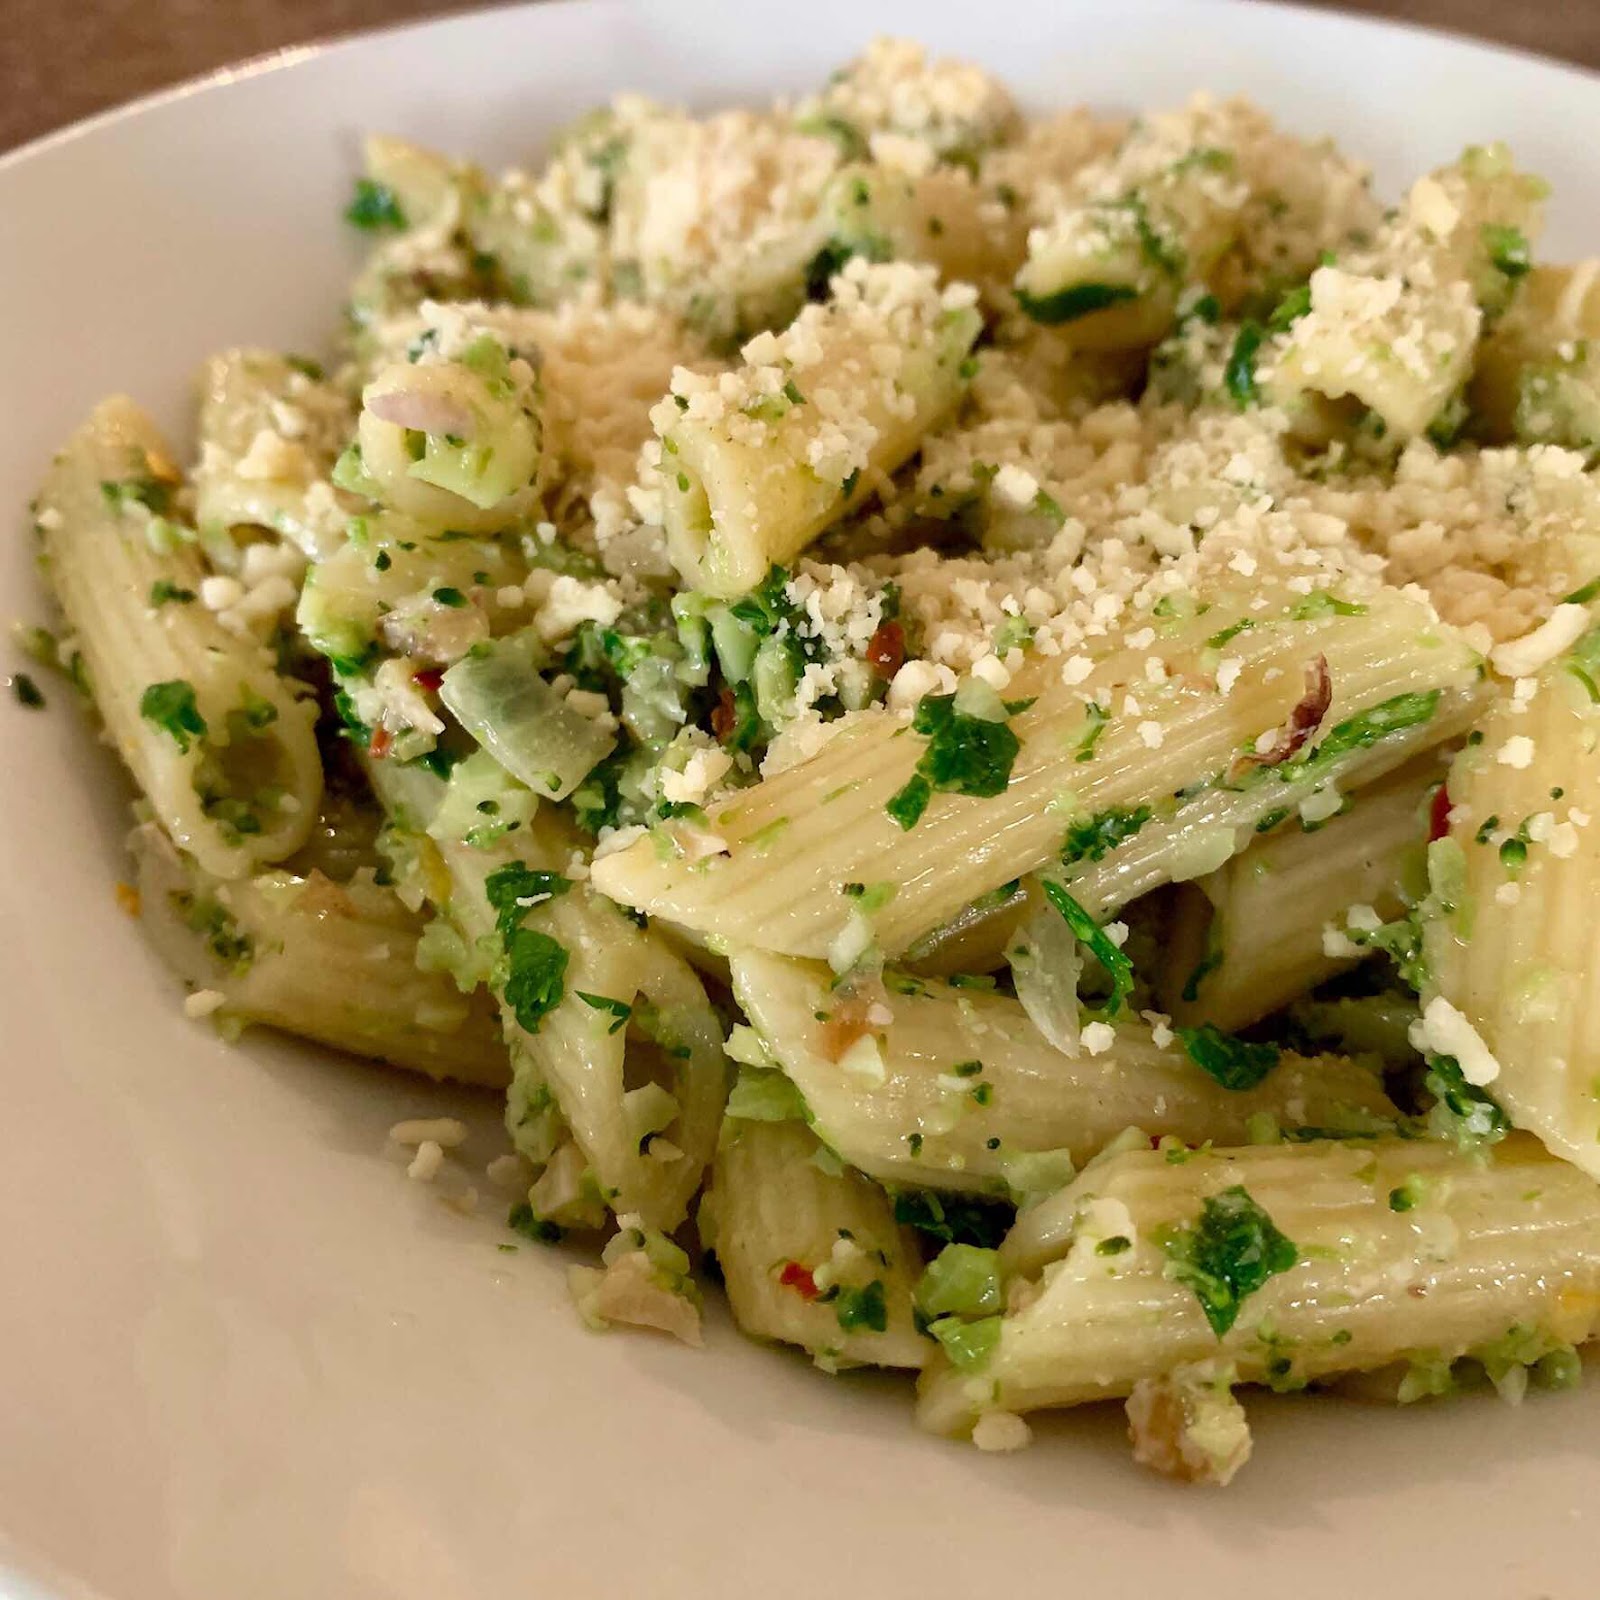
This has vegan Parmesan added, if not for vegans you could use traditional Parmesan. If you are not concerned with keeping it vegan or vegetarian add some crispy bacon, prosciutto or chorizo.


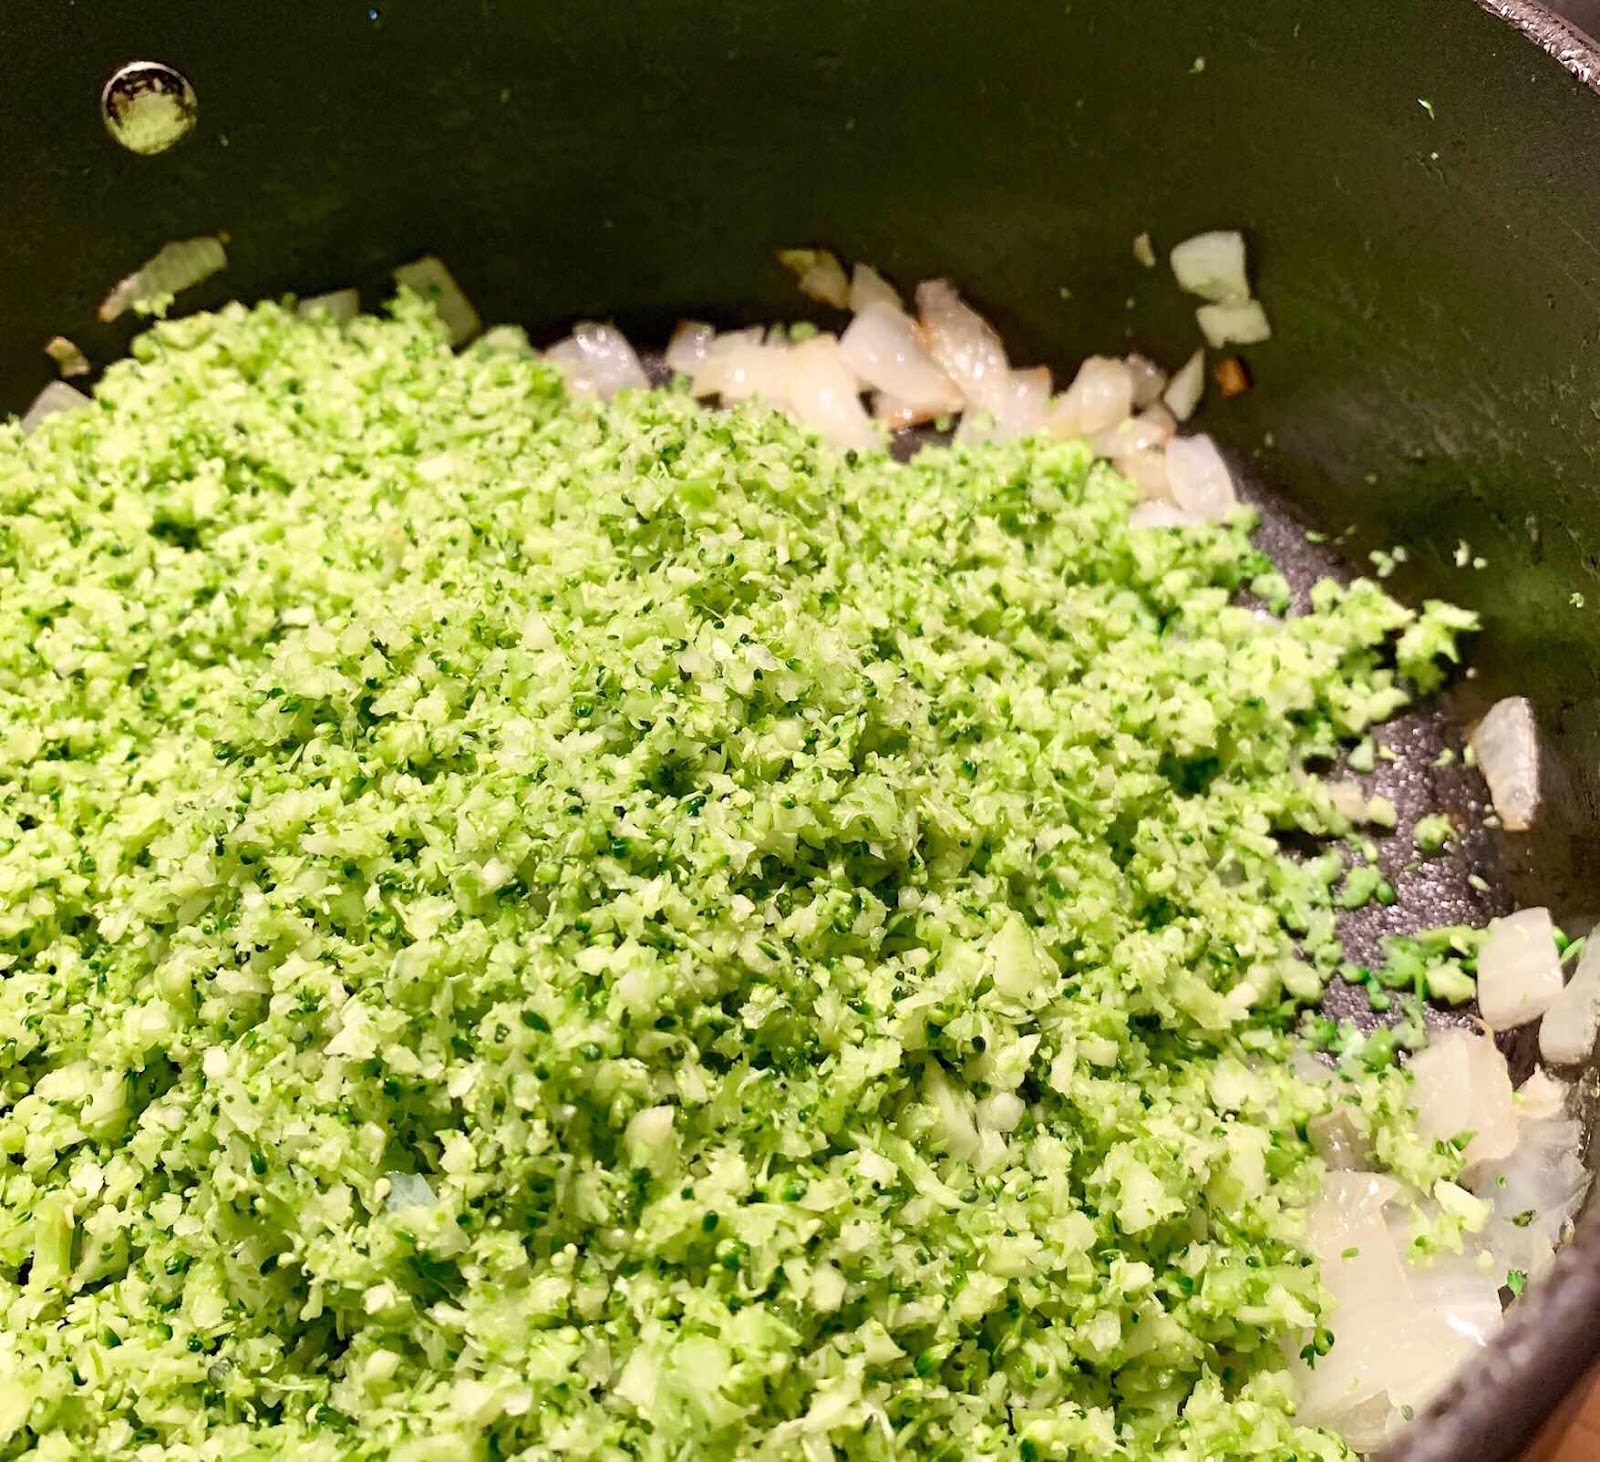
This is what the broccoli looks like when finely chopped and added to the onion.


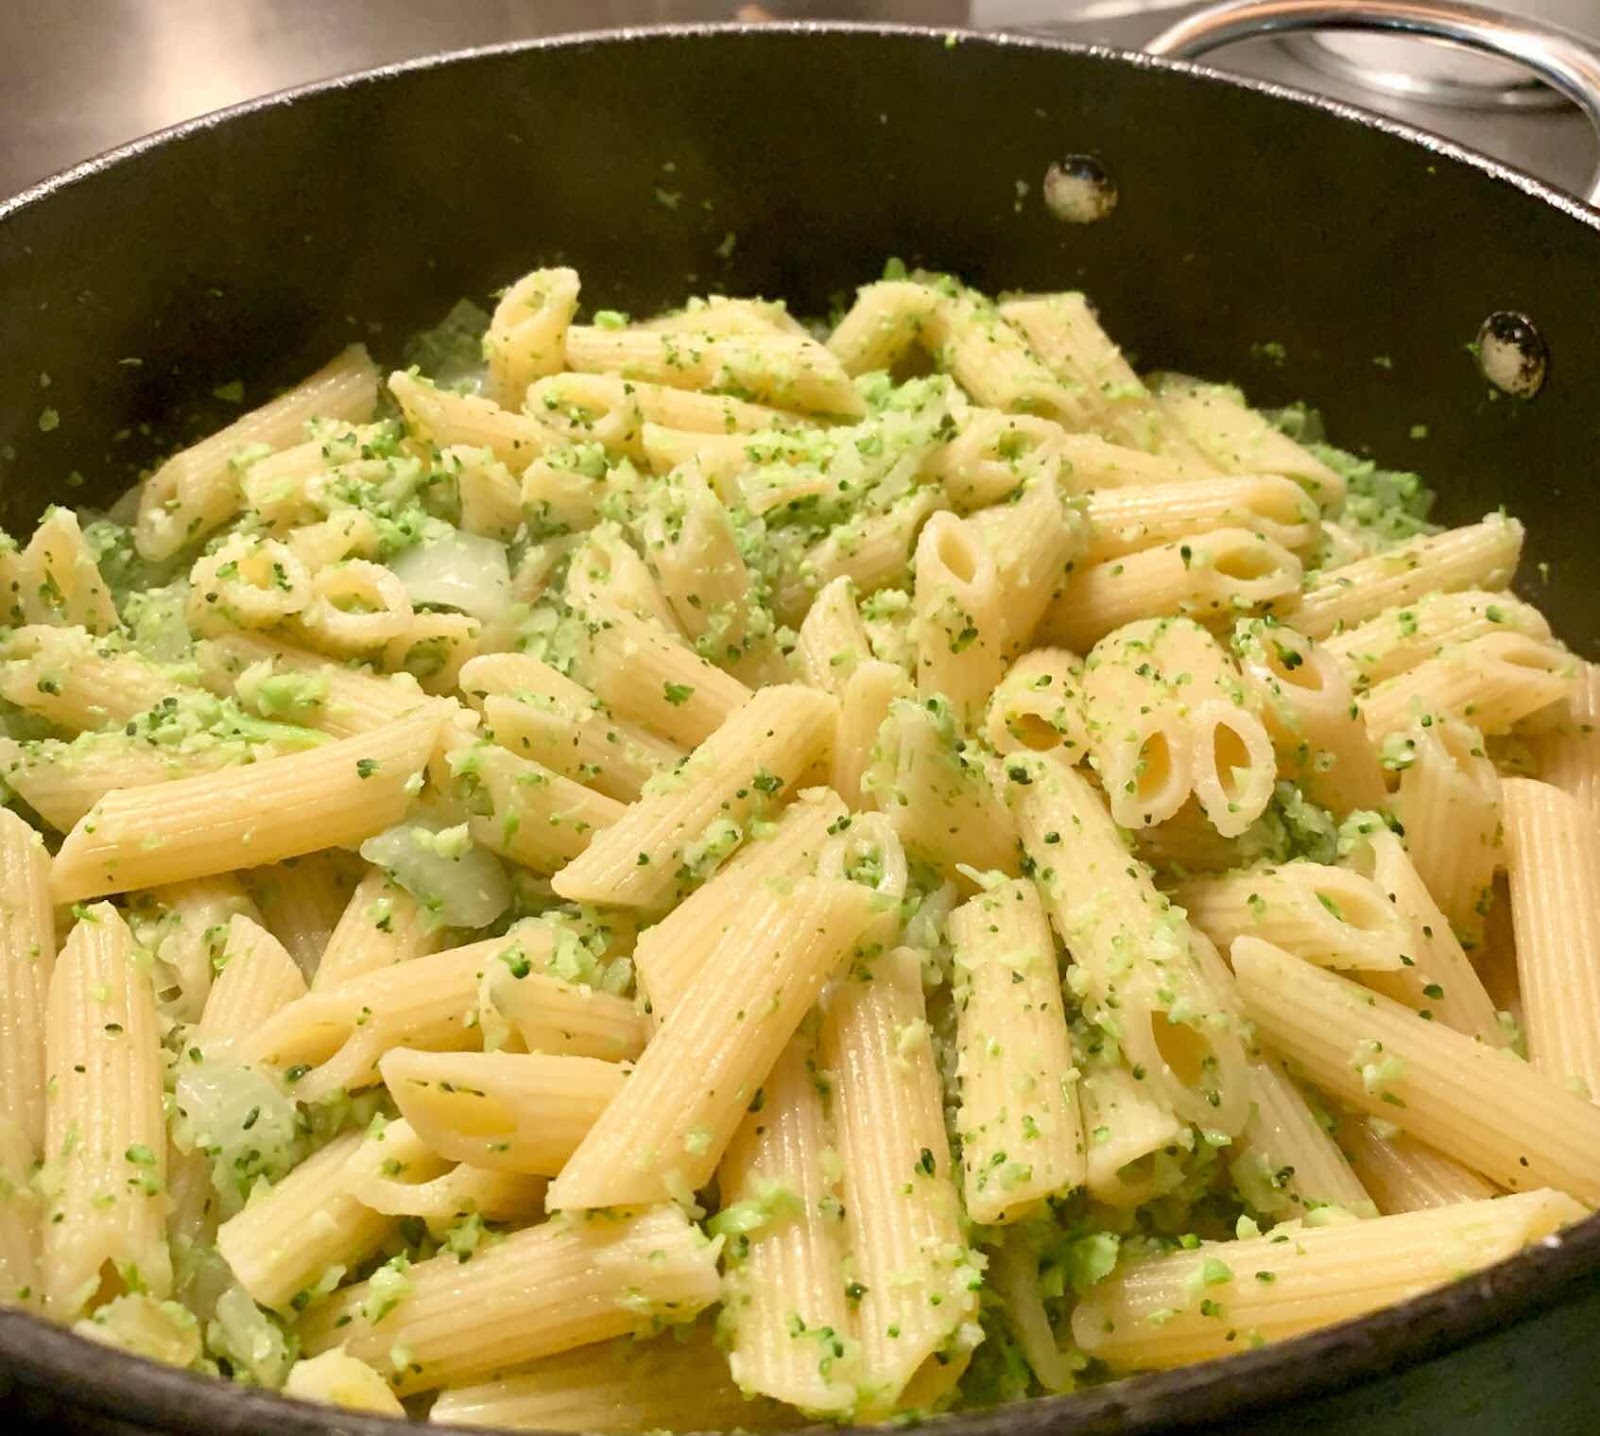
Add pasta


And remaining ingredients and a little of the pasta cooking water if necessary.


Pasta with Broccoli Pesto

Ingredients
Pasta approx 250 g or enough for four
1 large head of broccoli, washed and finely chopped in food processor
1/2 cup olive oil
1 onion finely diced
2 cloves garlic, crushed
1 cup chopped fresh parsley
1/2 cup finely chopped walnuts or more if desired.
A generous pinch of chilli flakes
2 tablespoons of nutritional yeast
1 teaspoon of salt or more to taste
1 teaspoon of freshly ground black pepper or more to taste


 Optional
1/2 cup grated parmesan or vegan parmesan
extra parmesan to serve

Method

Put a large pot of water on to boil and add salt. Cook spaghetti until al dente. Use time guide on packet.

Put a little oil in a pan, add onion and allow the onions to soften slightly but not colour. Add garlic and broccoli and cook for a minute or two.

 Add cooked pasta, and toss to coat the spaghetti, add a little of the cooking water if the sauce is too dry.

Add remaining ingredients and mix well. Check flavour, it may need a little more salt. If using parmesan add to the mixture

Serve with additional vegan parmesan / parmesan cheese.


Tuesday, 25 June 2019

Sunshine Pie or Pasties

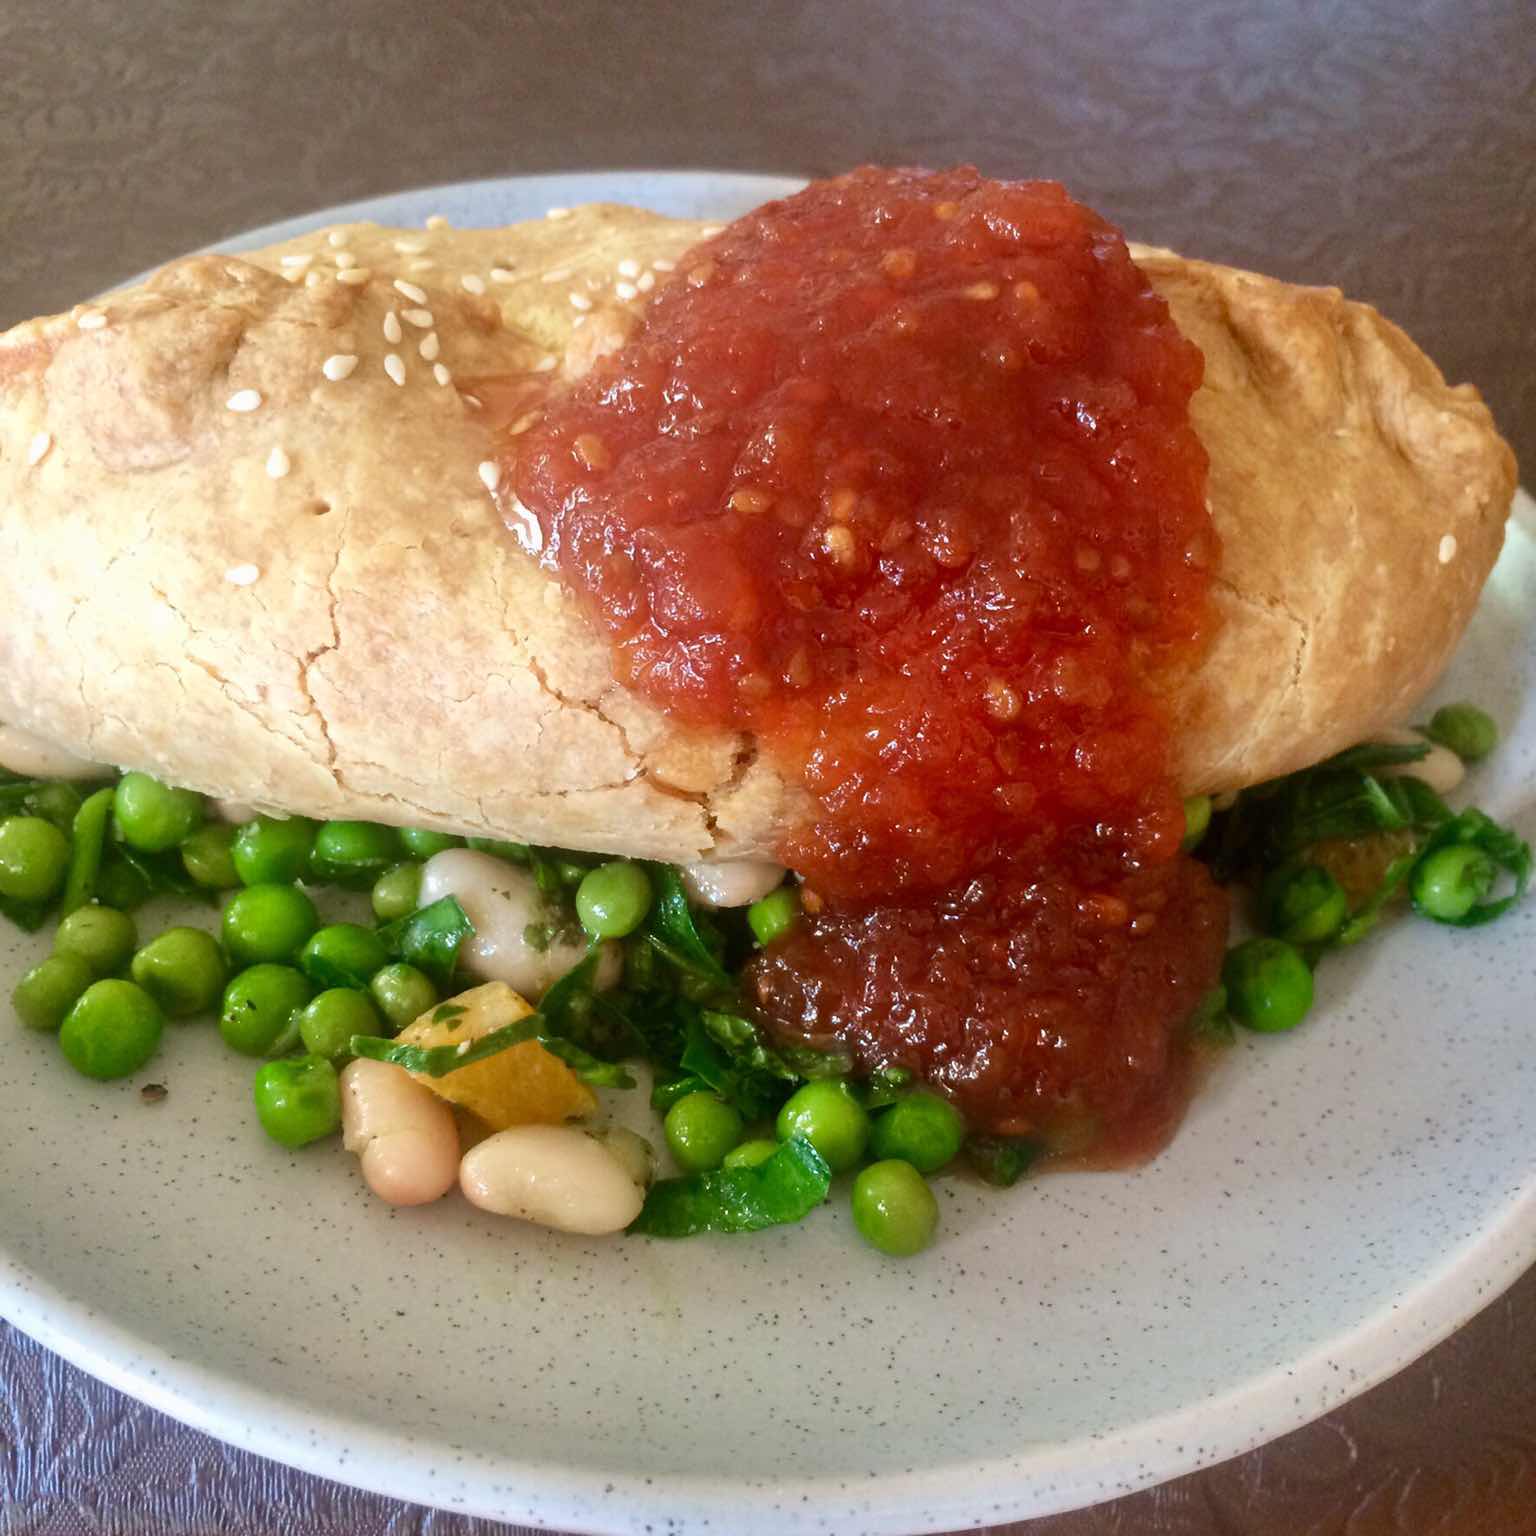
The cool Winter weather always makes me think of warming soups, pies and casseroles. For some time I have been making more plant based dishes or giving some of my recipes a ‘vegan makeover’. This pie is called a sunshine pie because of the large quantity of orange/yellow/red vegetables in the filling. These vegetables are high in vitamin A which the body converts to Vitamin D when exposed to relatively low or small amounts of sunshine. Make a large family sized pie or six pasties. I like to serve with green vegetable salad and a good tomato relish.
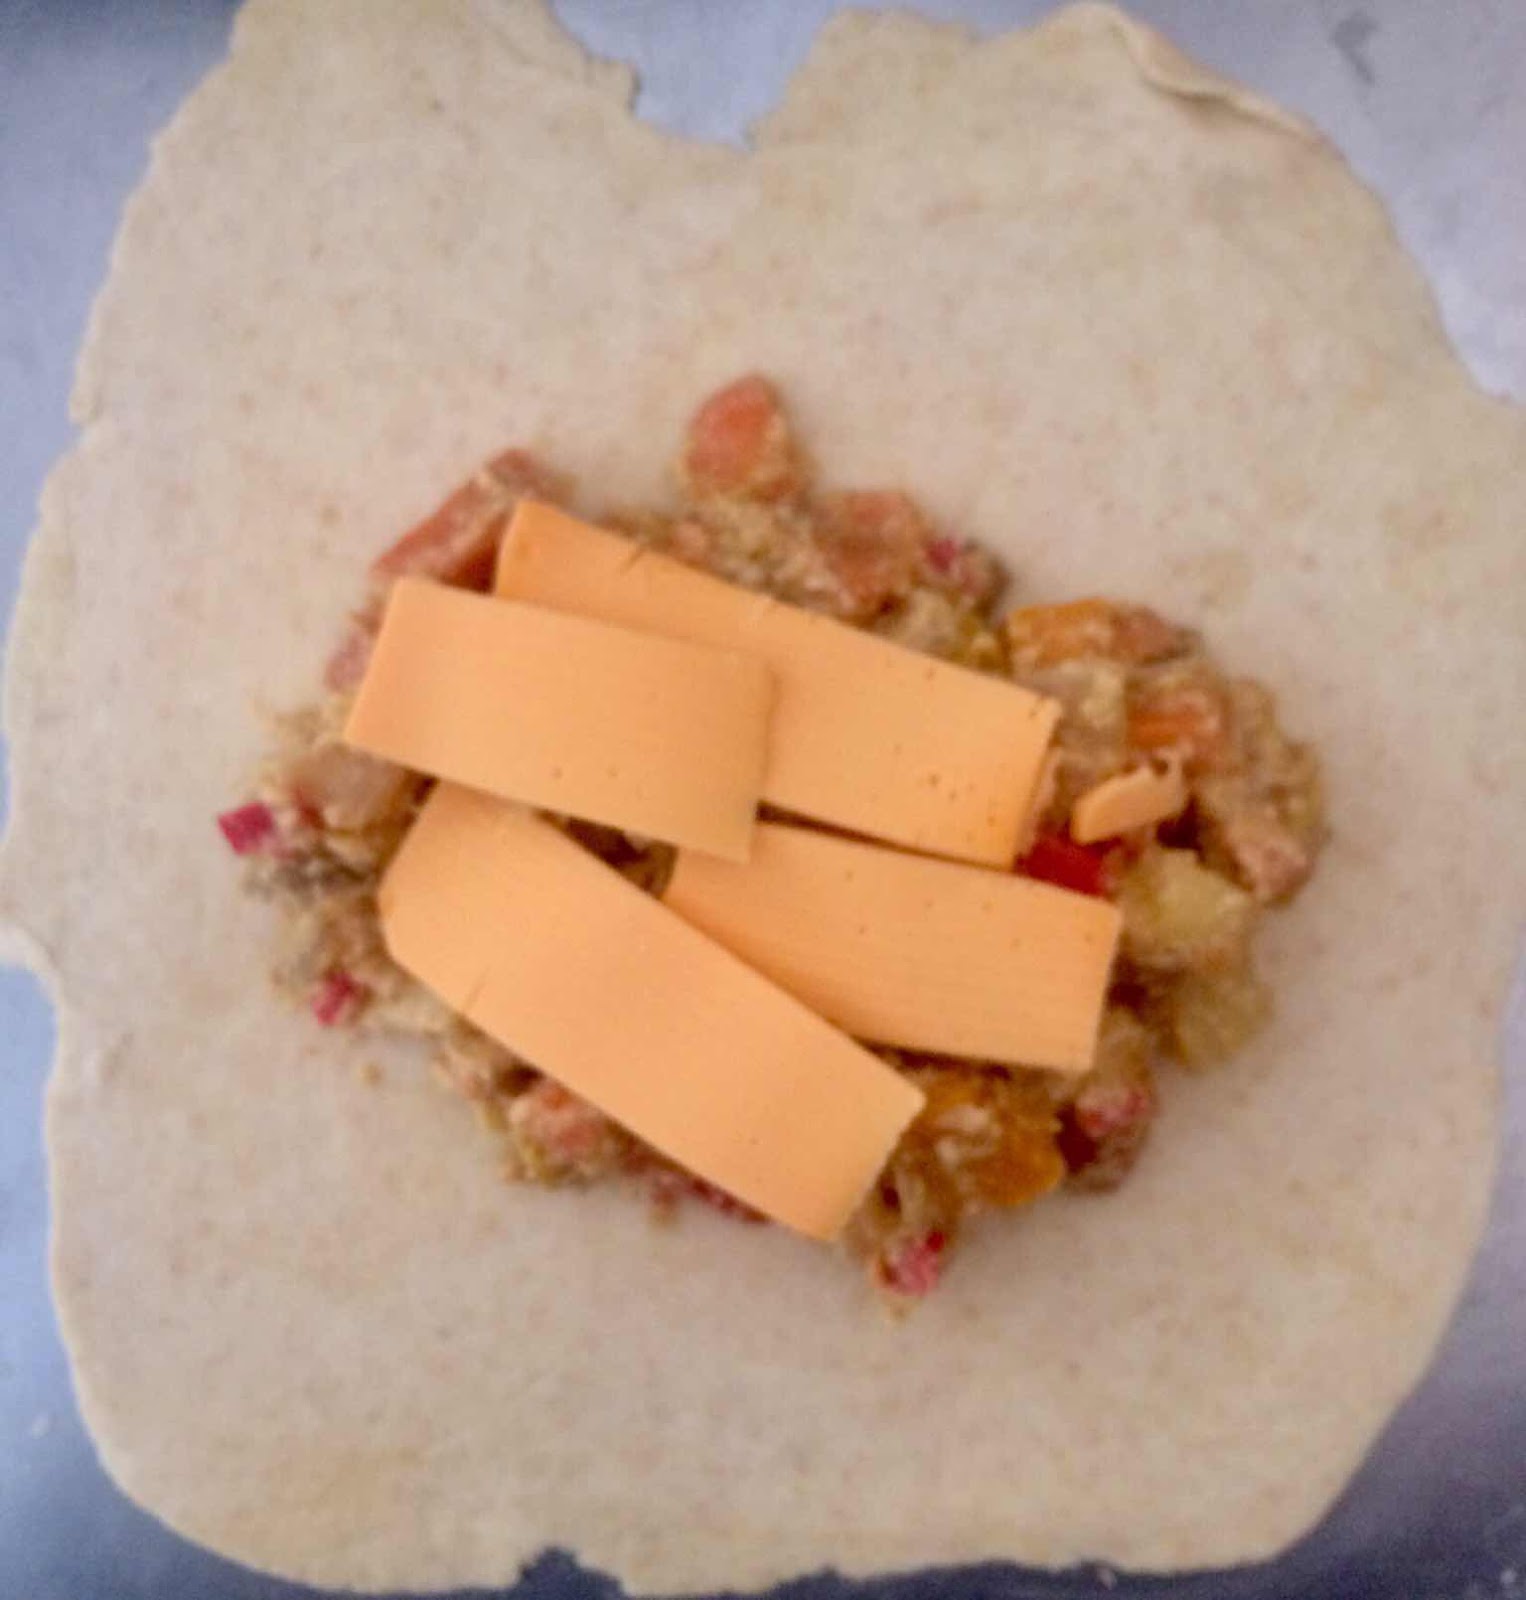


Although not in the recipe I will often add cheese to the pasties, this is a vegan soy cheese.


Roll out pastry into a rough circle, add filling and then shape into pasties pierce the pastry to create small holes for the steam to escape.


Make sure that you have a good mix of colourful vegetables, sometimes I add a teaspoon of fennel seeds.


This is the Miso / soybean paste that I use. It adds a delicious ‘umami ‘or savoury flavour.


 Utritional yeast also adds a savoury flavour that is a bit cheesy and contains lots of B vitamins.



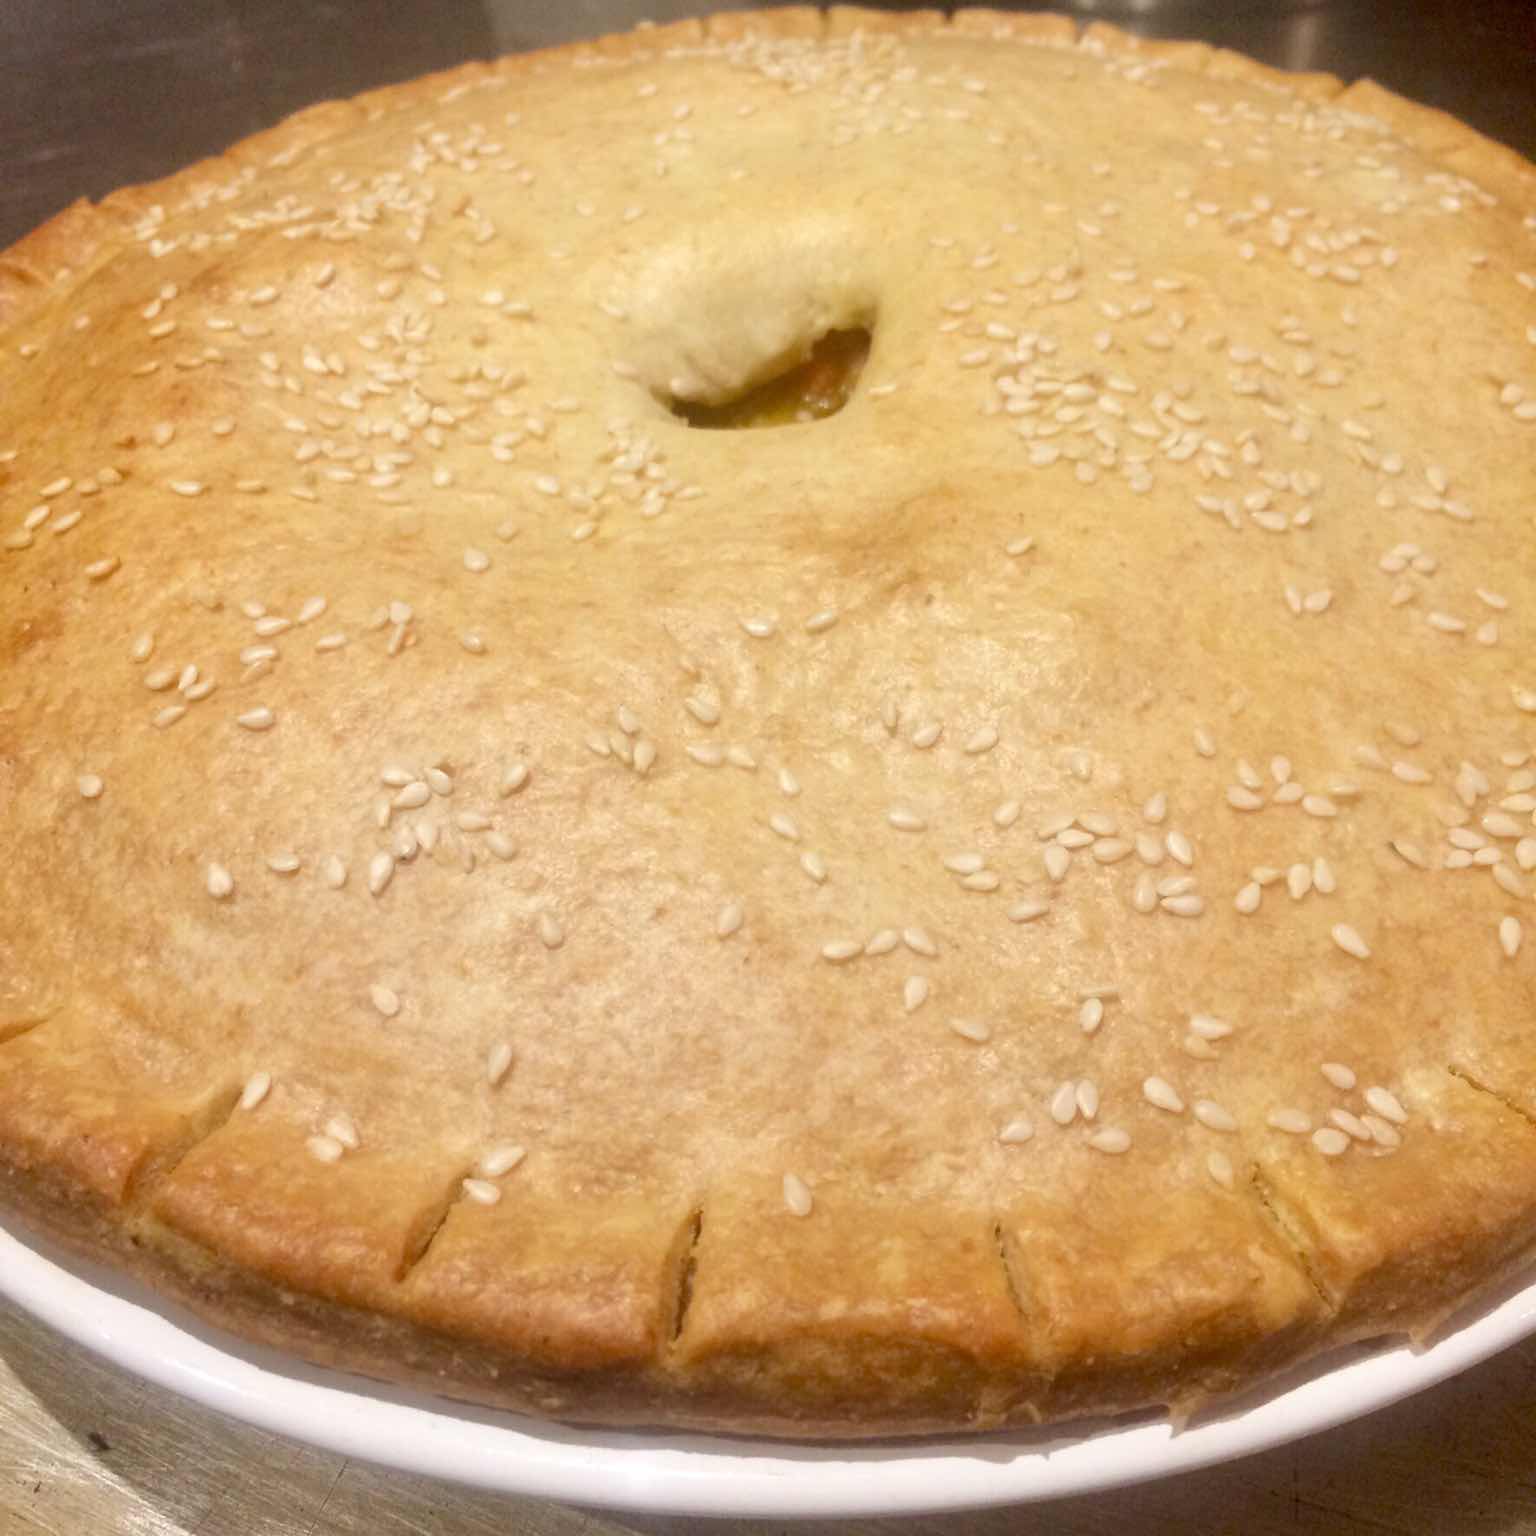
When making the pie makes sure to mound up the filling or use a deep pie dish.


Sunshine Pie or Pasties

Filling
3 onions
3 cloves of garlic
2 carrots
1 small sweet potato
1 small wedge pumpkin
1 large parsnip
2 red capsicum
1 2 Tablespoons of Miso paste
2 Tablespoons of Nutritional Yeast
1 teaspoon of freshly ground black pepper
Olive oil


Pastry

1 cup SR flour
1/2 cup wholemeal flour
125 g Nuttelex or other non dairy spread
pinch of salt
3 Tablespoon water, approximately


To assemble/finish the pie
A little non dairy milk for glazing
Sesame/poppy/nigella seeds

Make Filling
Cut up / dice onions and cook over low heat in a little olive oil, stir often and allow to colour but not burn. Crush garlic and add to onions.
Cut up / dice all vegetables into small pieces. I partially cook them in the microwave for 5 -8 minutes until just starting to soften.
Combine onion, vegetables, Miso, nutritional yeast and pepper, mix well and cook for a few more minutes. Taste the mixture Add more pepper and Miso if you think it needs more seasoning.
Place in the fridge to cool.

Make Pastry
Mix flours and salt together.
Rub butter into flour or process on pulse in food processor.
Add sufficient chilled water to make a firm but pliable dough or continue to pulse in food processor.
Knead lightly.
Cover pastry with a bowl and allow it to relax on bench for 10 to 20 minutes

Assemble Pie
Divide pastry into 1/3 and 2/3 balls of dough.
Roll out the large ball of pastry to 3mm thickness. It needs to be about the same size as the pie dish. (diameter and depth of sides)
Place the pastry into the greased/oiled pie tin or dish, allow the pastry to hang over the edges. Moisten the edges with a little milk or water.
Fill with the cooled vegetable mixture, mound it up.
Roll out the remaining pastry circle to form the lid.
Place lid on pie, press edges together. Decorate edges as desired and create a hole in the middle to allow steam to escape.
Brush a little milk over the top of the pie and sprinkle with seeds.
Bake at 180 deg C for 30 minutes, then reduce heat to 170 and continue cooking until pastry is golden brown.


Friday, 11 January 2019

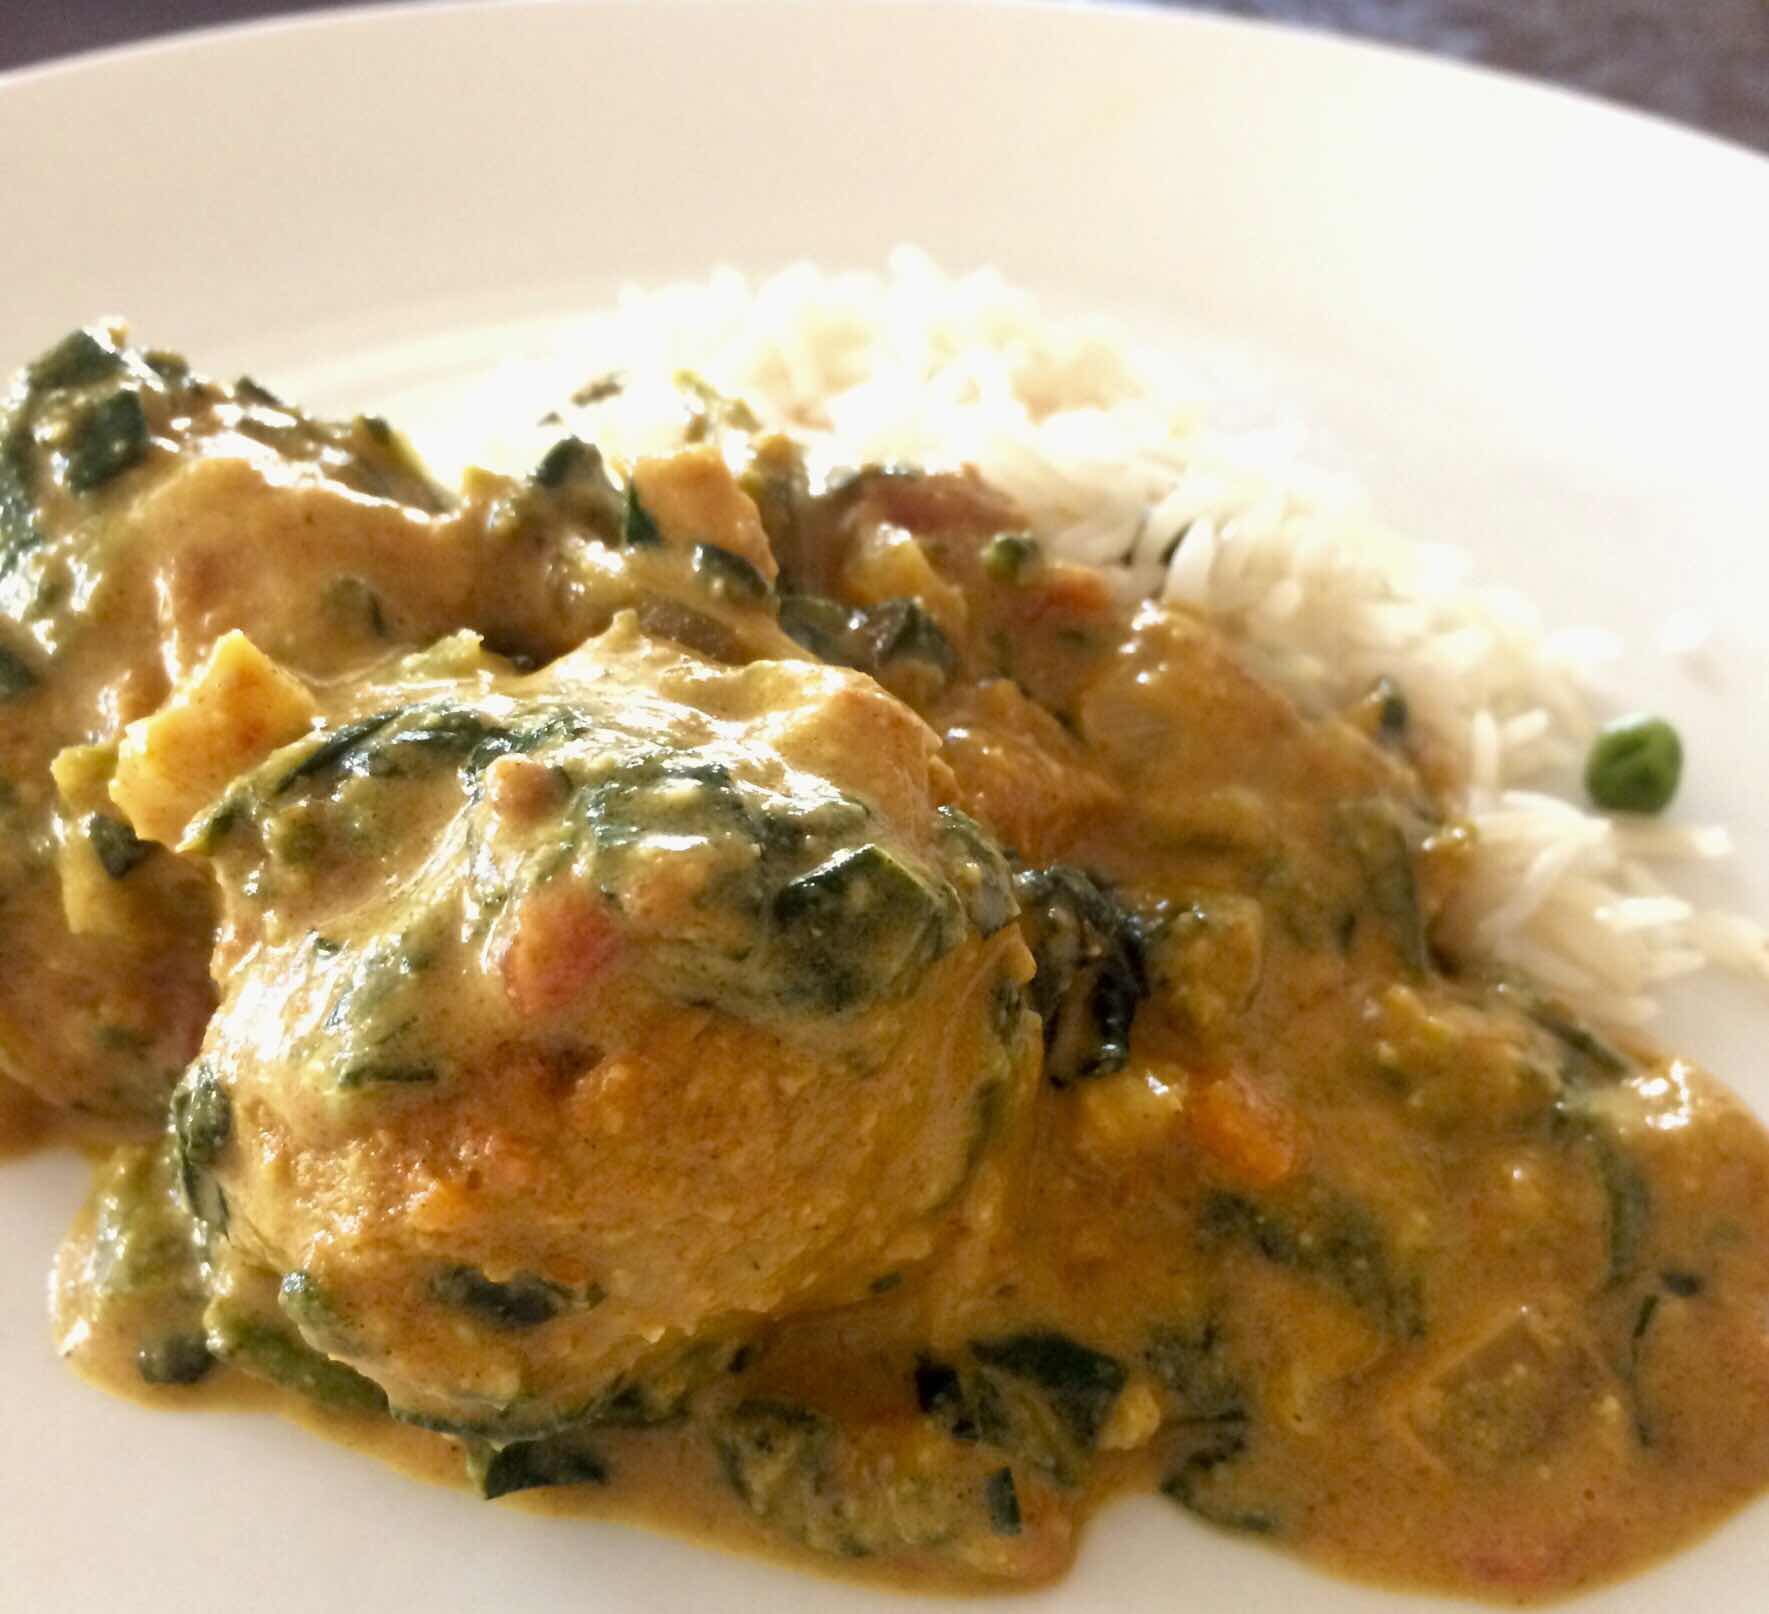
Chickpea Dumplings in Creamy Coconut Curry and Spinach Sauce (vegan)

Sometime ago I went to a Diwali festival. One of the many dishes served was a chickpea dumpling in a creamy sauce that I think contained yoghurt. Whilst I am not vegetarian or vegan I very much enjoy meat free meals. These dumplings are my attempt to recreate a similar dish but without yoghurt or any animal product. These dumplings are easily made. Use commercial curry paste for convenience. A tomato based sauce is also delicious and suitable for a spicier or hotter paste and a little extra chilli.


Chickpea Dumplings
1 can chickpeas, drained and rinsed
1 cup chickpea flour ( Besan)
1 teaspoon baking powder
1/2 teaspoon salt
1/4 teaspoon pepper
4 spring onions, finely chopped
1/2 cup almond milk/soy milk/water
2 tablespoons chia seeds (optional)

Mash chickpeas, use a fork or potato masher.
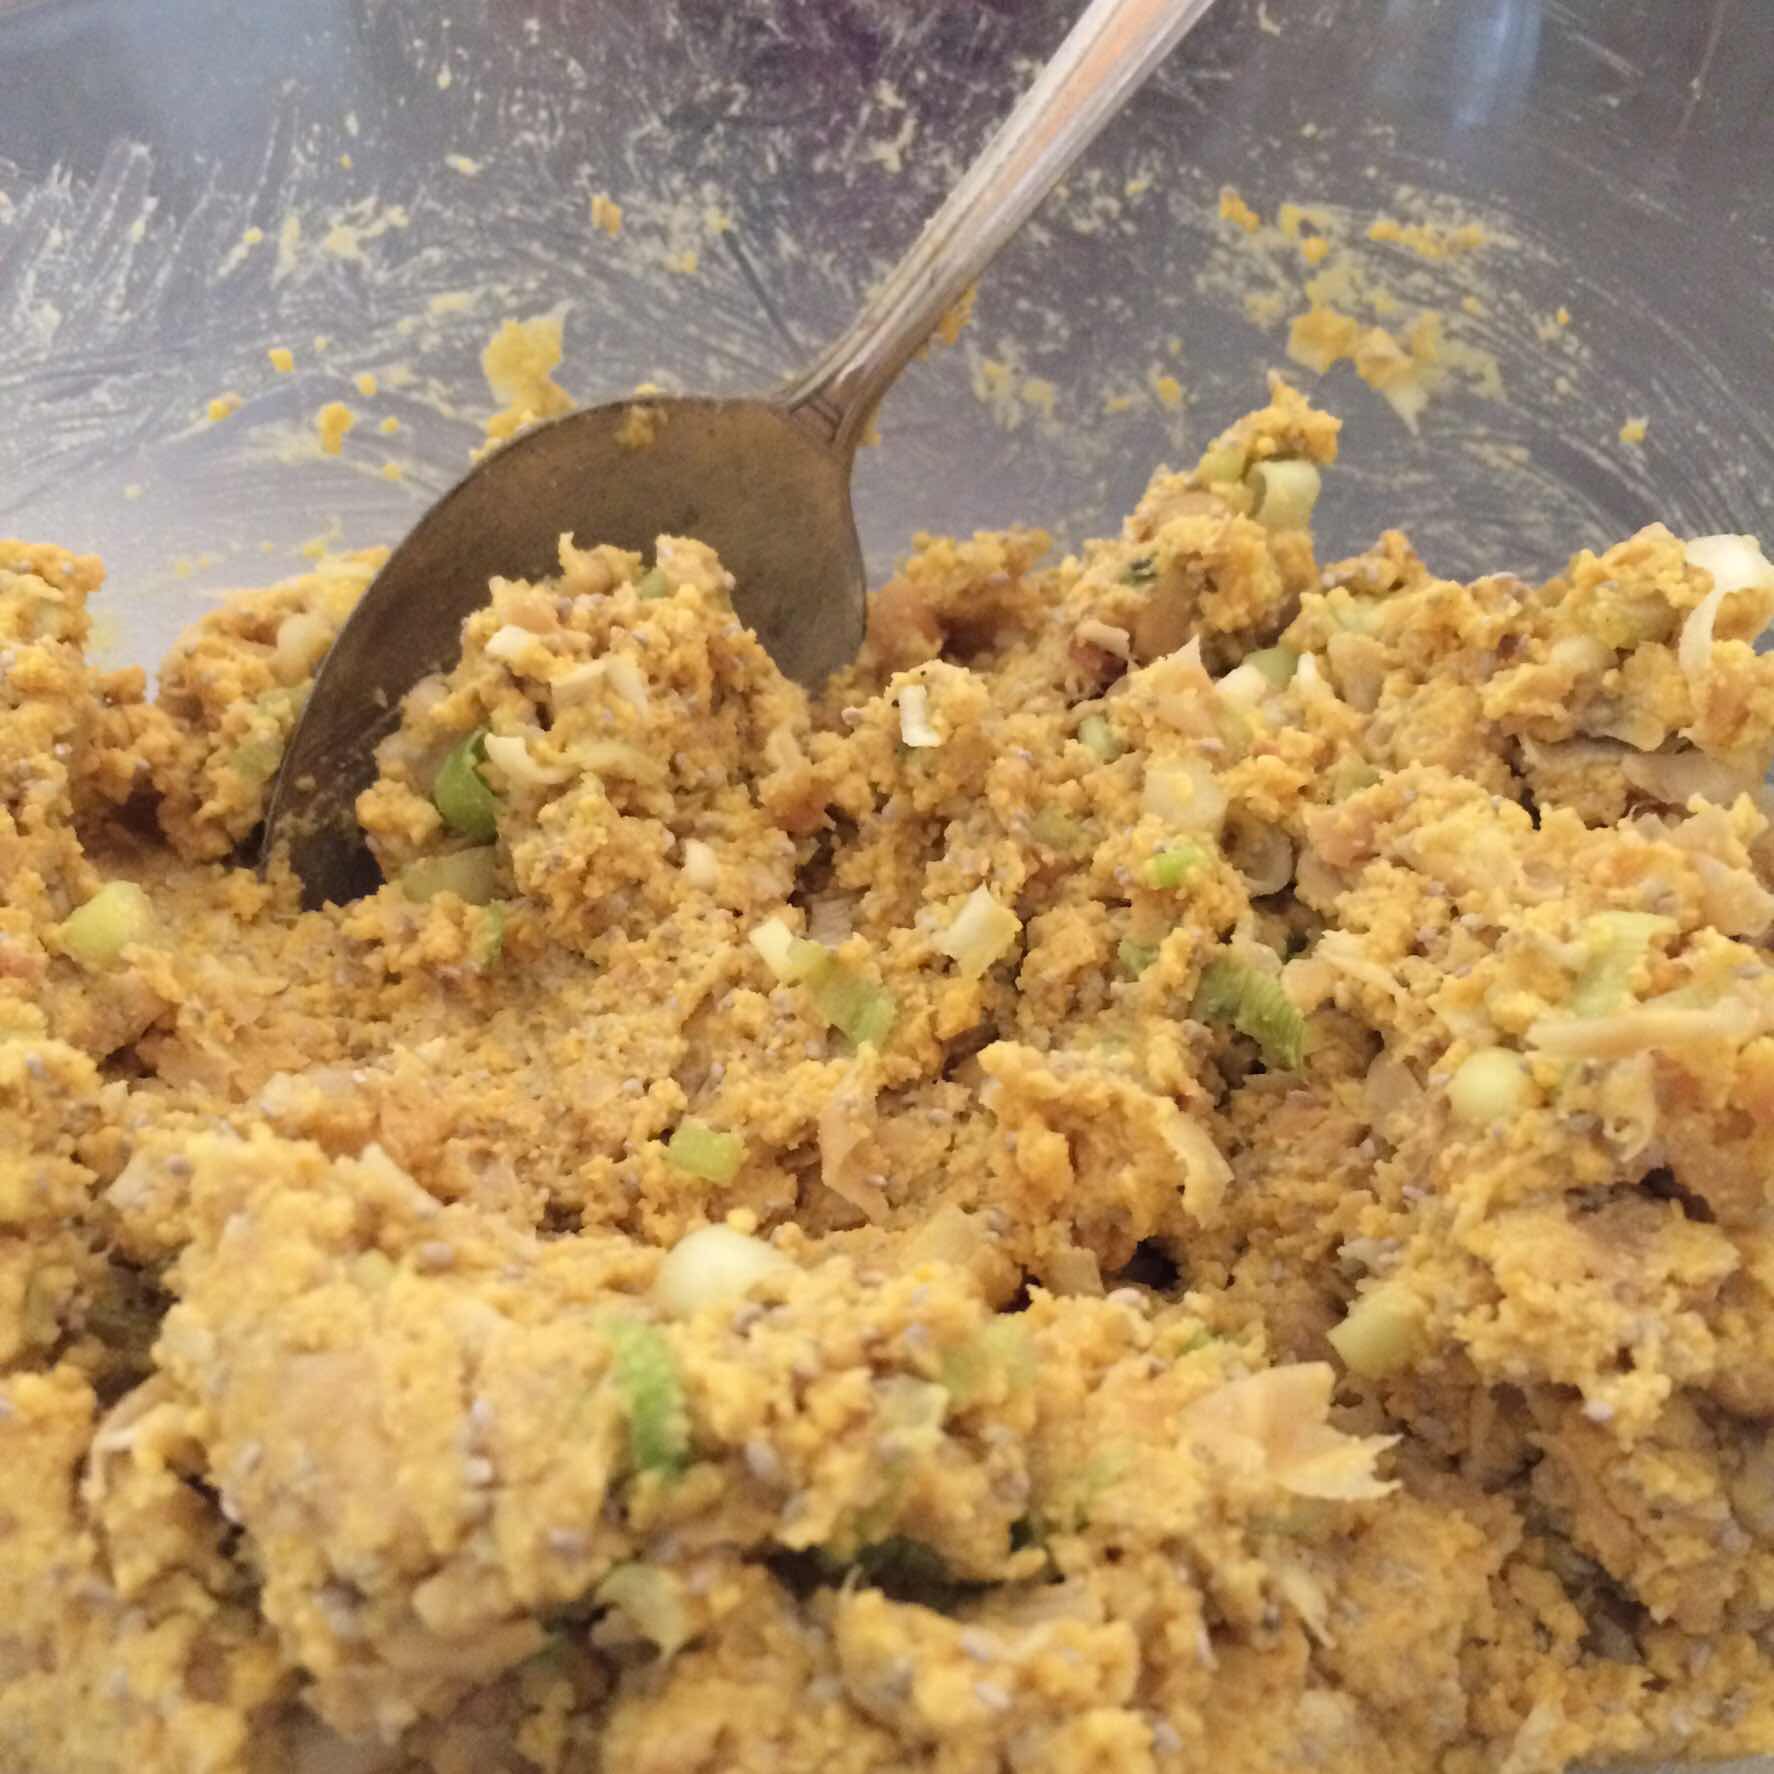
Mix together with remaining ingredients to form a thick mouldable mixture. 
If too dry add a little more liquid, if too wet add a little more chickpea flour.
Form mixture into small balls.
Gently fry in a little oil until lightly browned.
Drop the Dumplings into the sauce and simmer gently until warmed through.
Serve with rice

Creamy Coconut Curry and Spinach Sauce
1 can coconut cream
2 tablespoons curry paste (Korma)
1 onion finely diced
1-2 cloves of garlic, crushed
1 packet frozen spinach
Salt to taste

Soften onion in a little oil over low heat, add garlic and curry paste and cook until fragrant.
Add coconut cream, spinach and a little water.
Simmer sauce for a few minutes, add salt to taste. 
Add dumplings and continue to cook in simmering sauce until heated through. Stir gently to avoid breaking the dumplings.

Here’s How


Mash the chickpeas.


Combine with remaining ingredients.


Adjust the consistency of the mixture if necessary. You should be able to mould it into ball shapes or dumplings.


Gently fry until golden brown and the dumplings are set


Keep heating and eat as a snack or drop into the sauce, simmering gently until heated through.


Add extra vegetables to the sauce


Or use a tomato based sauce, add some extra beans and vegetables if liked.


Thursday, 16 November 2017

Broad Bean Patties

This year we did not grow broad beans, a very sad state of affairs indeed. Some of my green fingered friends have taken pity on me and given me a couple of bags, fresh picked and ready for me to make my all time favourite dip. The dip requires double podding which is ok when you have heaps but less so when your supply is limited. I am very grateful to them for their contributions and have really been enjoying both the dip and these patties.


These patties are made with single podded broadbeans which is much less work and less wasteful as the outer skin is used. Our worm farm and compost bins get the benefit of the outside pods. 


These are a very good alternative to meat pattie which makes them suitable for vegans and vegetarians and are also gluten free. 


My favourite way to eat these is to make them into a burger, they can also be made into smaller balls as finger food or as as an alternative to falafels. In a bun with salad they are still vegan friendly, egg and cheese may still be acceptable to vegetarians, and some cooked bacon makes them more like the traditional burger but no longer vegetarian or vegan. Takes care with the bun as this will be a problem for those on gluten free diets, I mostly use a commercial gluten free bread, wrap or bun when serving them to people with gluten intolerance.


Broad Bean Patties
Vegan, vegetarian and gluten free
500g podded broad beans*
½ brown onion
1 teaspoon dried thyme
1 clove garlic
1 teaspoon baking powder
4 tablespoons chia seeds
4 tablespoons cornflour
salt and pepper to taste

*at least 1 kg unpodded
To cook
Extra cornflour
Grapeseed oil / olive oil for frying

Place podded broadbeans, onion, thyme and garlic in a food processer and blitz until finely chopped or crumb consistency. 

Add cornflour and chia seeds. Mix well. Taste and add salt and pepper to your taste.

Cover and refrigerate the mixture for at least an hour to allow the mixture to firm.

Divide mixture into five or six balls*, roll in a little cornflour and flatten into burger patties.

Heat a small amount of oil in a frypan and shallow fry on both sides until golden brown and heated through.

Uneaten patties can be refrigerated for two days and reheated in the microwave or oven. Alternatively freeze, defrost and reheat.

*Make the mixture into smaller balls and use as finger foods or an alternative to falafels in a wrap


Monday, 8 August 2016

Beetroot Dip

Dips are great for casual entertaining. I often serve a dip with a basket of crackers or chopped bread and leave guests to help themselves whist I am busy looking after the rest of the meal.  Many vegetables can be pureed to make into a dip, however, beetroot with it's earthy flavour and vibrant colour is one that I come back to often. It can be served plain, but the topping while a little more work, is not difficult and adds to the presentation.


Beetroot Dip

2 -3 medium beetroot
1 tablespoon tahini
1 clove garlic
Pinch of salt
Additional olive oil

To Serve

2 teaspoons olive oil
1/2  -1 teaspoon ground cumin
2-3 tablespoons sour cream
1 spring onion, finely chopped
Chopped parsley

Method

Wash beetroot and place in a saucepan, cover with water and cook until soft. Drain, allow to cool and peel.

Place cooked beetroot, garlic, tahini and salt in a food processor and blitz until mixture forms a smooth purée. Add a little oil if necessary. Taste and add a little more tahini and salt if desired.

Place/spread the beetroot purée on a serving plate.

Drizzle a little olive oil over the purée and then sprinkle the cumin over the surface.

Spoon the sour cream over the middle of the purée, do not stir it into the beetroot.

Top with the chopped parsley and spring onion.


Monday, 18 July 2016

Brain Food

Recently we watched a television program that extolled the benefits of purple vegetables for brain health. Whilst out and about the man of the house dropped into the fruit and vegetable store and came home with a red cabbage, beetroots and purple carrots. Clearly, he was still able to recall the many benefits of a diet rich in anthocyanins, the compound responsible for the red / purple colour in fruits and vegetables.


I wouldn't normally serve all three together, however, we ended up with more dinner guests than anticipated and the Beetroot and carrots were roasted along with the other vegetables. The platter that we referred to as 'anthocyanin overload' was really delicious with the roast pork and apple sauce. The purple carrots and beetroot were roasted and then served on top a platter of braised red cabbage.

To continue with the theme I used red onions, cranberries and balsamic vinegar in the braised cabbage. The use of vinegar or another acid such as lemon juice stops the cabbage from going blue as it cooks. The caramelised onion and the cranberries add some sweetness, however, if the mixture is still a little tart add one or two teaspoons of brown sugar.


The first step is to soften and lightly caramelise the onions in a little over low heat.


Add the balsamic


Then the coarsly shredded red cabbage and cranberries. Cover and continue to cook over low heat for twenty minutes or more until the cabbage has softened. Stir every now and then to ensure that it doesn't stick to the saucepan and the cabbage is mixed through the onions and cranberries.


Braised Red Cabbage
1 red onion, sliced
1 - 2 tablespoons balsamic vinegar
1/2 red cabbage, coarsly shredded
1/4 cup dried cranberries
A little oil

Heat the oil, add the sliced onions and reduce heat. Cook onions over low heat until soft and starting to caramelise.

Add balsamic, cabbage and cranberries. Cover and continue to cook over low heat until cabbage has softened. Taste and season with salt and pepper if desired. A little brown sugar can be added if too tart.


Thursday, 2 June 2016

Warm Brussel Sprout and Hazelnut Salad

Brussel sprouts are one of my favourite vegetables and served nearly daily when in season. A passion not universally shared, although, I have quite a few friends who are as obsessed.  Mostly I serve them lightly steamed as part of a bowl of steamed greens, however, sometimes I just have to make them more of a feature.


This Warm Brussel Sprout and Hazelnut Salad and variations have been known to convert some of the most reluctant Brussel Sprout eaters that I know. With Brussel sprouts the secret is to cook the sprouts until just tender and add in lots of other flavours and textures. Crispy bacon, prosciutto or chorizo is a nice addition and some cooked pasta can extend the salad to serve more. An even heartier meal can be achieved by makeing a simple sherry reduction sauce, adding lots of cooked pasta  and serving with a generous amount of shaved Parmesan cheese.


I discovered these sprouts at the fruit and vegetable shop and couldn't wait to try them, I usually just use the regular green variety.


Variation 1, The same salad with some crispy bacon.


Variation 2, the salad with the bacon and some cooked pasta. Omit the bacon for a vegetarian option.


Variation 3, no longer a salad and more hearty with a sherry reduction sauce and a higher proportion of pasta.

I am feeling very pleased, the recipe has been used by GMHBA in their recent newsletter.  You can see it here go to the article Fire Up Your Fruit and Veg


Warm Brussel Sprout & Hazelnut Salad
Salad
400 g small Brussel Sprouts
1 cup toasted hazelnuts, skins removed*
2 spring onions, thinly sliced
2 tablespoons chopped parsley
2 cloves garlic, crushed
generous grind of black pepper and a pinch of salt
1 -2 teaspoons fresh thyme, chopped

To serve
1 -2 tablespoons lemon olive oil
Zest of 1 lemon

*natural almond could be substituted for the hazelnuts.
 Variations

Variation 1
100g bacon/prosciutto diced and crisped.

Variation 2
Add 1 -2 cups cooked pasta

Variation 3
Add 3 cups cooked pasta,
Sauce made by reducing 1 cup sherry by 1/3. Additional garlic and a generous pinch of chilli flakes can be added to the sherry.
shaved parmesan to serve

Method

Toast hazelnuts and remove skins.

Thinly slice spring onions. Chop parsley and thyme

Trim the end of the sprouts and slice in half vertically, rinse. Place into a pot of
boiling water and cook for 2 minutes or until just tender. Do not overcook. Drain.

Toss salad ingredients together and then pile onto a serving plate.

Drizzle with the lemon olive oil and scatter the lemon zest over the salad.

Serve warm or at room temperature for the best flavour, Can also be eaten cold.

Variation 1
Add crisped bacon or prosciutto
Variation 2
Warm Brussel Sprout, Hazelnut and Pasta Salad
Add cooked pasta and a little more oil.

Variation 3
Add the sherry, chilli and an extra clove of crushed garlic to the pan used to crisp the bacon. Simmer until reduced by one third.
Add cooked pasta and the warm Brussel sprouts and hazelnut mixture

Serve with shaved Parmesan cheese.


Tuesday, 24 May 2016

Cheese & Mushroom Ravioli with Mushrooms and Creamy Sauce

This dish is worth the extra work of making a sauce and sautéing the mushrooms. The large home made ravioli look great, however, any commercial filled could be used to save time. It is essential to reduce the sauce so that the flavour concentrates and the sauces thickens enough to coat the ravioli. I use porcini powder for an even deeper or more intense mushroom flavour.


To Make Ravioli
Click here to see how to make the ravioli. Ravioli can be made in advance and frozen.

Cheese & Mushroom Ravioli
with Mushrooms and Creamy Sauce
Ravioli
1 cup Ricotta cheese
1 egg yolk
1 cup very finely diced mushroom/duxelle
1 teaspoon fresh thyme leaves
1 tablespoon grated Parmesan cheese
Pasta sheets or wonton skins
Or
Pre prepared Ravioli  or other filled pasta

4 cups mushrooms, thinly sliced


Sauce
1 cup sherry/ dry white wine
1 cup chicken stock/vegetable stock
3 cloves garlic, crushed
300 ml light cream
1 teaspoon fresh thyme - optional
1 - 2 teaspoons porcini powder
2 spring onions, finely sliced
1 red chilli, finely diced
Freshly ground black pepper

To Serve
Wilted greens - optional
Freshly grated Parmesan cheese
Chopped parsley


To Make Ravioli
If using fresh pasta sheets cut out 2 large circles per ravioli. Allow 2 -3 ravioli per person or use wonton skins
Combine filling ingredients and mix well.
Place spoons of the filling between two circles of the pasta sheets or the wonton skins. Moisten edges and then press firmly to seal.
Poach the ravioli in boiling water for a few minutes or until cooked.

To Make Sauce
Dissolve porcini powder in the sherry and combine sherry, stock, garlic, chilli, and thyme,  a generous grind of black pepper and cream in a saucepan, bring to boil, reduce heat and simmer until reduced by half. Add spring onions and simmer for another two minutes.

To Saute Mushrooms
Cook the mushrooms in batches, do not overcrowd the pan. Heat a small amount of oil until hot, add mushrooms and cook for a few minutes, stirring every now and then. Remove mushrooms to a clean bowl and repeat with remaining mushrooms.

To Assemble
Place wilted greens, if using, on the bottom of the bowl/plate.
Add a layer of the mushrooms.
Spoon over a little sauce
Top with poached ravioli
Add a few more mushrooms to the top, spoon over a little more sauce.
Garnish with grated parmesan and chopped parsley.

Friday, 20 May 2016

Mushrooming


My all time favourite breakfast, mushrooms on toast. Growing up this was something that we only had after we went 'mushrooming' and whilst this medley is not in any way like the mushrooms that we collected as children, the memory lives on.


Foraging for one's food has become very fashionable with many leading chefs espousing the joys and benefits. Long before it was fashionable my family were foragers. There were the trips to pick blackberries, something not easily undertaken these days due to the blackberry eradication program and mushrooming. The mushrooms were easier and less scary, although, I am still scarred by the snake experience when blackberrying. Any fruit tree that was abandoned was also fair game.


Mushrooming was an Autumn activity. As soon as there was rain we would be out. Each child was given a bucket and a knife and told to go out into the paddocks and collect. Competition was fierce and every inch of the selected paddock was inspected, 'cow pats' were turned over in case there were mushrooms lurking underneath. The cows seemed to not mind the arrival of the pickers, although, we had been instructed to keep away from them. We ate loads of them and I can not recall ever being sick. With the very warm weather and recent rain the mushrooms have arrived, some safe and some not.


These days I heed the warnings like this that was in my local paper today


And go mushrooming at my local fruit and vegetable store


There are many different sorts of fresh, all safe


And dried including Porcini powder, one of my favourite ingredients and a valuable addition to mushroom soups, risottos and cream sauces.


A selection of mushrooms ready to cook. 


Thinly sliced, cooked in a very hot non stick pan. I cook them in batches so that they do not stew.


For some extra flavour Heat a little butter and a few sage leaves cooked until the butter starts to brown and the sage becomes crispy then add the sautéed mushrooms 


Serve on hot toast and for something a bit more special top with a soft fried or poached egg.


//