Showing posts with label Desserts. Show all posts

Sunday, 12 February 2023

Upside Down Plum Cake

Plum season and lucky me the recipient of a few buckets of plums. Mostly slow roasted and frozen. The cooked plums are delicious for breakfast, in crumbles and cobbler and make for a delicious upside down cake. The cake is  a variation of my quick mix gluten free dairy free cake. In this version I substituted some brown sugar for caster sugar and ground walnuts for some of the ground almonds. It is great for dessert and keeps well so can be made in advance.


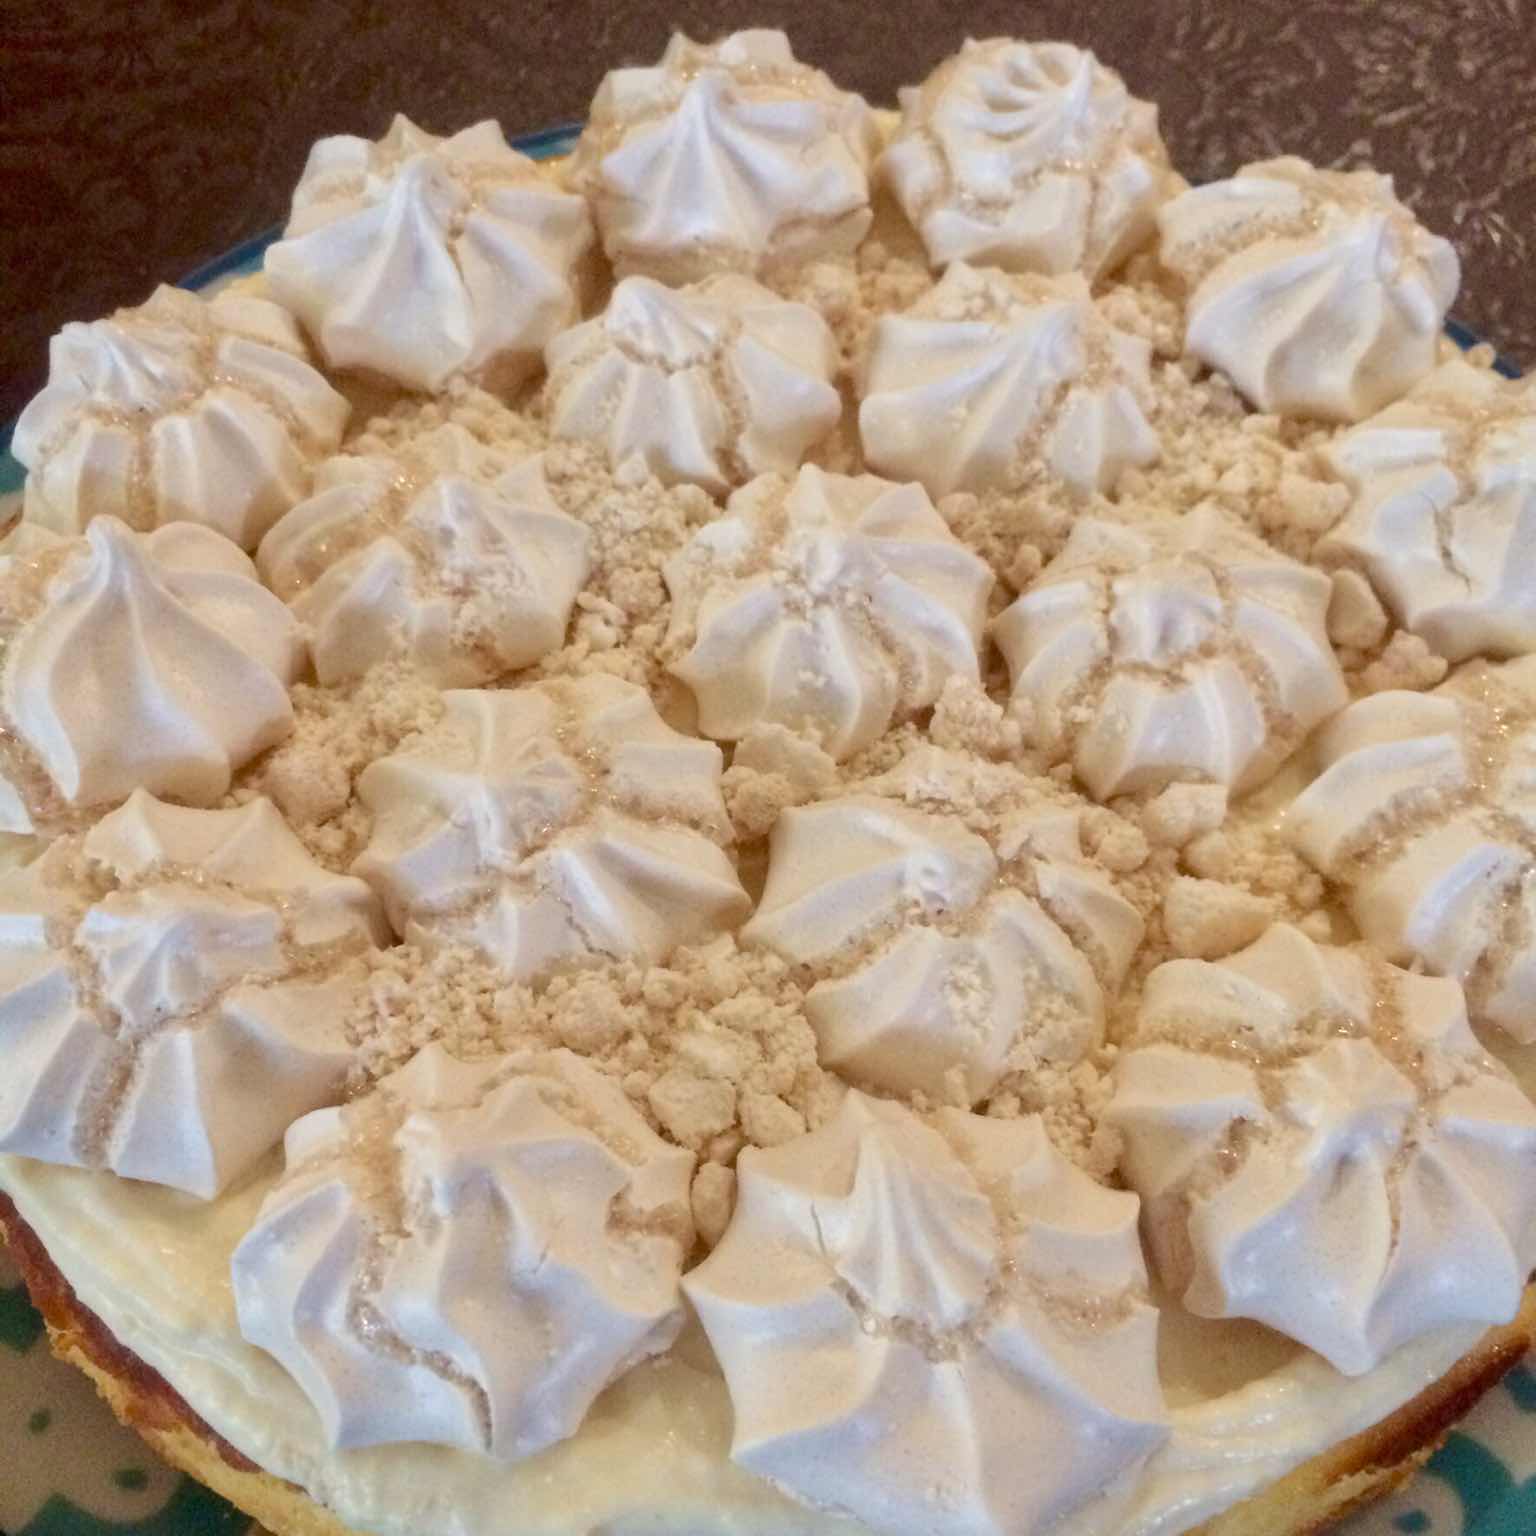
There is plum cake, nice by itself but better with some more plums


And then plum cake with creme anglaise or egg custard sauce. It is equally good with cream or ice cream. Other stone fruits work just as well as do slices of pineapple or poached quince.

Upside Down Plum Cake

Gluten free, dairy free

Ingredients

Cake

1 tablespoon vanilla extract

1/2 cup grapeseed oil or light olive oil

3 eggs

1/2  cup caster sugar

1/2  cup brown sugar

1 1/2 teaspoons baking powder

1 cup almond meal

1/2 cup walnut meal

1/4 cup gluten free corn flour or gluten free flour mix


Topping

12 plum halves (may be softened or lightly poached)

2 tablespoons brown sugar


Method

Preheat oven to 160 deg C.

Grease and line the base of a spring form pan with baking parchment

Sprinkle the two tablespoons of sugar over the base of the lined spring form tin and then arrange plums around the edge and in the middle.

To make cake

Beat eggs and sugar(s) together until thick and foamy, beat in vanilla and the baking powder.

Beat in the ground almonds, walnuts and corn flour/gluten free flour

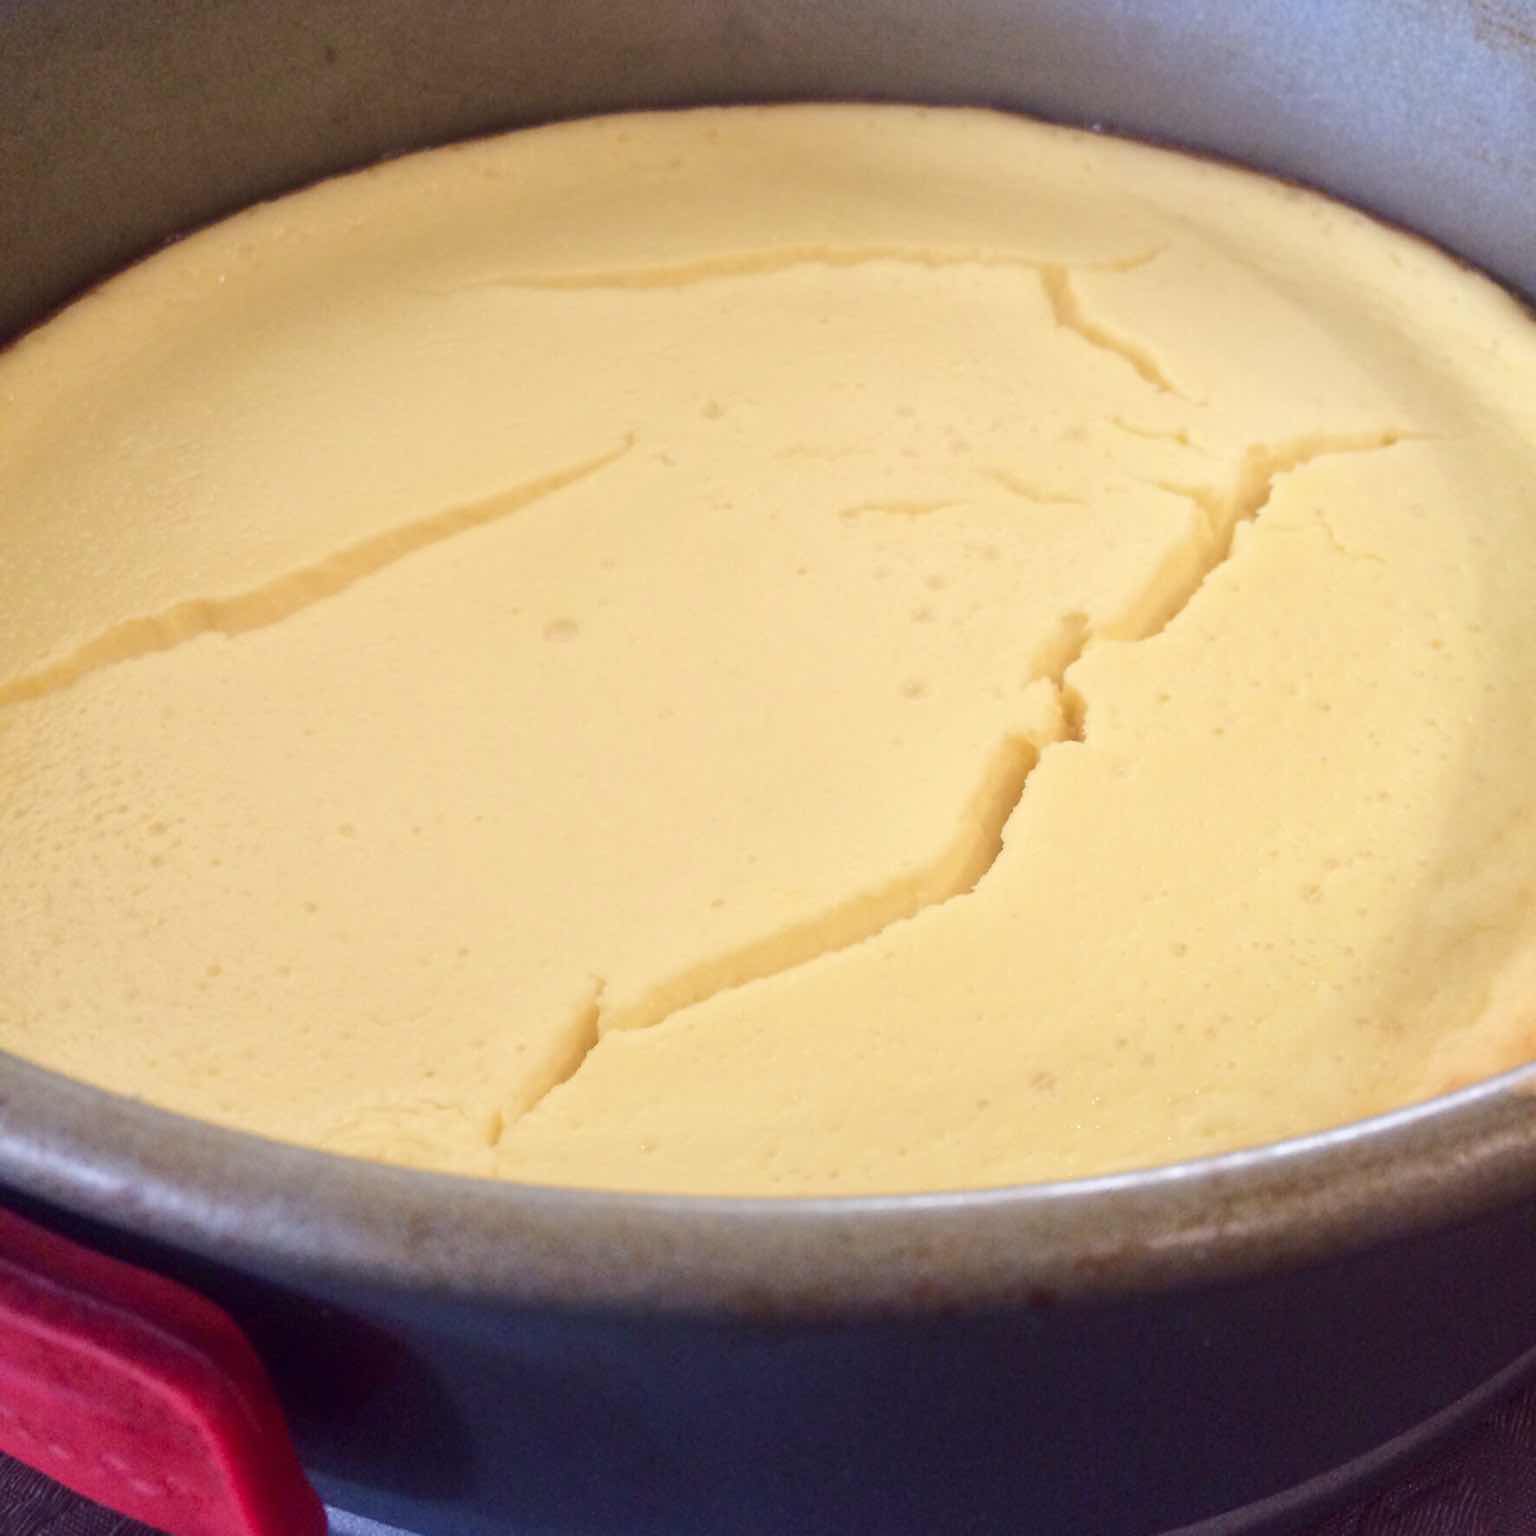
Pour batter into the prepared tin. Bake until cake is set and starting to shrink away from the sides of the tin, approximately 50 minutes.


Tuesday, 4 January 2022

Peanut Butter & Salted Caramel Icecream

It doesn’t come much easier than this. Whipping cream, caramel condensed milk, peanut butter and salt all quickly whipped together,  a few hours in the freezer and the finished result is a luscious, creamy frozen dessert. In the semifreddo style, no churning required. Once frozen it is very hard and difficult to scoop. I generally take it from the freezer and put it in the fridge about fifteen minutes before I want to serve it. It is great by itself  or with a wafer cone but can be easily made into something fancy by scooping onto a biscuit and adding a swirl of chocolate sauce.


Peanut Butter & Salted Caramel  Ice cream

Ingredients
600 ml whipping cream ( 35 % fat)
1 can Top n Fill caramel condensed milk, 
1 jar (approx 400g) peanut butter. I prefer crunchy
1 - 2 teaspoons salt flakes


Method

Combine caramel condensed milk, peanut butter and  one teaspoon of the salt in a bowl. Use electric beaters to mix thoroughly. Taste and add more salt if desired.

Add cream and continue to beat until cream has just thickened. Taste again add more salt if you prefer a saltier flavour.  Do not overbeat.

Spoon into a container and freeze. I like to use a metal slice tray. The icecream will freeze a little more quickly and it is still deep enough to get a good scoop.


Thursday, 13 June 2019

Birthday Cakes

All birthdays are special and just about any cake or dessert can be turned into a birthday cake. This week I have made two birthday cakes, both for thirtieth birthdays. One for my son Liam and one for my neighbours son Jack.


This is Jack’s cake, loosely modelled on Henry, Jacks Dachshund and so much fun to make.


The cake is my favourite mud cake recipe. 


Two layers of cake sandwiched with whipped mocha ganache frosting. The cake then cut into the dog shape and covered with more of the frosting. The frosting sets and the cake can then be iced with commercial fondant. I used  black and then tinted some white to get tan.  This is the recipe for the mud cake. The frosting was made by using half white and half dark chocolate and and adding one tablespoon of instant coffee dissolved in one tablespoon of boiling water.


Henry and Henry.


This is Liam’s cake, not really a cake as such but one of his favourite desserts given the birthday cake makeover. Assembled and ready for some candles to be added 


A baked lemon cheesecake, I prefer no crumbs on the sides and for this one I used a larger springform tin so that the cake was thinner and more like a torte, topped with mandarin cream and some small meringues.


The mandarin cream was made by warming some mandarin jam and straining out the rind, allowing it cool and then stirring the jam through some whipped cream.


Little meringues.


Just add candles. 


Tuesday, 22 January 2019

Kulfi (vegan)

I have had a long-standing love affair with Kulfi since my long ago trip to India. I love the creaminess, it is much like semifreddo and the slight graininess from the ground nuts. This version is adapted from my usual recipe to be be vegan and made with homemade coconut condensed milk.


I like to make individual serves in disposable plastic containers (wash and reuse) which stack into the freezer 


however the mixture can also be scooped out of a larger container.


Kulfi

Coconut Condensed Milk

1 can coconut cream
2 cups almond milk
1 sachet coconut milk powder (optional)
1 cup sugar
Pinch of salt

Combine all ingredients in a large saucepan and bring to boil stirring to dissolve the sugar. Turn down heat and simmer until reduced by half. 
Remove from heat and allow to cool until cold.


1 qty of coconut condensed milk (see above)
1 tin Coconut cream, chilled
1 tsp ground cardamom
1 cup Almond Meal
1/2 cup ground pistachios

Extra chopped pistachios to serve

Whip chilled coconut cream, add remaining ingredients and mix well.
Place in a container  or individual serve plastic containers and freeze.

To serve
The Kulfi is very hard when frozen so it is best taken  from the freezer and placed in the fridge for 20 minutes or so. If using individual serves it is best to I mould before allowing the Kulfi to soften.
Garnish with chopped pistachio nuts.

Wednesday, 2 January 2019

Chocolate Pavlova with Chocolate Mousse Cheesecake and White Chocolate Cream

Every New Year’s Eve we get together with a group of old friends to celebrate and ring in the new year. I am always tasked with bringing a dessert. The needs of the group are varied, no fruit, gluten free, no nuts, no coffee flavour, no mint and for one of the group something anything chocolate as long as it is not combined with fruit. This dessert nailed it, until one of the guests told me they were dairy free, luckily there was some fruit salad as well. 


For this sort of function I tend to bake the pavlova as a rectangle as it is easier to cut and serve. Cut in half lengthwise and the into slices.


You can get the pavlova recipe here

Chocolate Mousse Cheesecake Topping
250g cream cheese
1/4 cup caster sugar
2 tablespoons Dutch cocoa
100 g dark chocolate, melted
2 teaspoons vanilla extract
200 ml cream whipped

Mix all ingredients except for cream and mix well.
Gently fold whipped cream into the mixture.

White Chocolate Cream
400 ml cream
2 teaspoons vanilla extract
100 g white chocolate, grated

Whip the cream and vanilla together.
Stir in grated white chocolate.

Chocolate Leaves / Poinsettia 
100 g dark chocolate, melted
Lime leaves
Dark chocolate Lindt Balls

Carefully spoon melted chocolate over the top/shiny side of the leaves.
Place on tray covered with baking paper and refrigerate until set.
Carefully peel the leaf away from the the chocolate leaf.


To Assemble

Place chocolate pavlova on serving plate
Spread chocolate mousse cheesecake filling over the pavlova.


Carefully spread the white chocolate cream over the the chocolate mousse layer.


Refrigerate to set.


Decorate with chocolate leaves, Lindt Balls and a little grated chocolate.

And for New Year’s Day

Chocolate Pavlova, white chocolate cream and fresh berries, lots of berrie, be generous.


Tuesday, 12 December 2017

Christmas Fruit Mince Slice

Christmas catch ups often need a plate to share, rarely am I asked to bring something savoury and more often specifically asked to bring something sweet or baked. This slice has a 'Christmassy' feel, is not chocolate and can be made in advance. Ideal for those who love mince pies but do not want the bother of making individual pies or tarts or when you want something that can be cut into smaller portions. Cut into larger pieces and serve as a dessert.


The base is tender and buttery and unlike pastry does not need to be rolled out. Commercial fruit mince filling works well or make your own using this recipe. The topping is light and full of ground almonds.  


Christmas Fruit Mince Slice
Ingredients
Base
125gm butter, melted
1 cup SR flour
1 cup Plain flour
½ cup caster sugar
1 egg

Fruit Mince Topping
 1 1/2 cups fruit mince*
commercial or homemade

Almond Topping
1 cup almond meal / ground almonds
2/3 cup castor sugar
90 g soft butter
1 egg


Method
Preheat oven to 180C. Grease and line deep slice tray.

Combine all the ingredients for the base, mix well into a dough.

Press the dough evenly into the prepared tin. Smooth/gently roll a glass across the top Bake the base for 15 minutes or until the edges are starting to colour and top is pale golden.

Meanwhile, make the almond topping.

Cream or beat the butter and sugar until light and fluffy, add the egg and ground almonds and mix well.

When the base is ready, remove from the oven. Spread fruit mince over the base and then carefully spread the almond topping over the fruit mince.

Return to oven and bake for 20 minutes until topping has set and is golden brown. Leave slice to cool in the tin on a wire rack.

Cut slice up when completely cold.


Saturday, 15 July 2017

Raspberry Layer Cake

A birthday deserves a special cake.


This is one that I made for my lovely daughter in law Rachel.


This cake has three delicious layers of moist berry studded cake, with layers of jellied raspberry puree, cheesecake and my favourite vanilla cream frosting. It keeps well and is perfect to make a day or two in advance. Serve as a cake or with some additional berries for an indulgent dessert. The cake is not difficult to make, each layer is simple, however you need to allow time for each component to be made and cool. It is important to assemble the cake before making the vanilla cream frosting as the additional gelatin in the cream will make it set and harder to spread/pipe. I also like to leave the assembled cake for a few hours before cutting and serving. A gluten free version can be made by substituting the cake from Lemon Bounty Layer Cake recipe.

Spread the cake batter into the prepared pans and push frozen berries into the cake batter.

Bake cake. Sometimes I bake in a large sheet tin and then cut out circles of cake. Sandwich pans can be used. 


Cheesecake mixture


Raspberry jelly


Assemble the cake. I use a ring lined with acetate sheet. You will need three layers of cake and two of the cheesecake and jelly. Cake, cheesecake, jelly, repeat finishing with a cake layer.


Spread a thin layer of the vanilla cream frosting over the sides of the cake. 


Carefully pick up the cake and roll in crushed cake crumbs, grated chocolate, chopped roasted nuts or toasted coconut.


Spread more vanilla cream frosting over the top and a sprinkle of crumbs along the edge


If desired pipe a decorative edge of the vanilla cream frosting. Arrange some fresh raspberries of the top and sprinkle with whatever you used to coat the sides of the cake.


Dust with a little sieved icing sugar and if desired scatter with some edible flowers.


Raspberry Layer Cake

Cake
250 g soft butter
1/2 cup grapeseed oil
1 1/2 cups caster sugar
1 teaspoon vanilla extract
6 eggs
2 cups plain flour
2 teaspoons baking powder
1/4 cup milk
1/2 cup plain yoghurt

Frozen raspberries or combination of raspberries and blueberries
Raspberry Jelly
1 1/2 cups raspberries, frozen ok
Juice of 1 lemon
1 packet commercial raspberry jelly crystals

Cheesecake mixture
375 g cream cheese
3/4 cup caster sugar
2 teaspoons vanilla extract
1 tablespoon cornflour
1/4 cup milk
1 egg

Vanilla Cream Frosting
300 ml whipping cream
2 teaspoons vanilla extract
1 sheet leaf gelatine (titanium strength)


Method

Preheat oven 170 deg C

Grease and line a large slab cake tin, 2 swiss roll tins or 4 sandwich pans

Cream butter, oil and sugar until light and fluffy, add vanilla extract

Gradually add eggs, beating well

Add baking powder, yoghurt and milk, mix well

Stir in flour. Add a little extra flour if mixture seems too soft or a little extra milk if too dry.
 Stud the surface of the cake with the frozen berries

Bake at 170 deg C for ten minutes and then reduce heat to 160 deg C until cooked. Golden brown in colour, the edges will shrink slightly from side of cake tin and a skewer comes out clean.

Raspberry Jelly
Combine the jelly crystals and lemon juice in a bowl. Add 1 cup boiling water and stir until dissolved.

Add raspberry puree and mix well, refrigerate until starting to set.

When partially set beat until foamy or a fluffy texture and return to the refrigerator.

Cheesecake Layer
Combine all ingredients in a food processer, whiz until mixed thoroughly. Alternatively beat the cream cheese, vanilla and sugar then add the corn flour, milk and egg. Mix well,

Place in a microwave safe bowl or container and cook in one minute bursts on high, stirring between bursts until the cheesecake mixture starts to thicken/set. (4 minutes in my microwave) Refrigerate until ready to assemble cake

Assemble cake before making the frosting

For Vanilla Cream Frosting

Place the gelatin in a large bowl and cover with cold water. Allow the gelatin to soften or bloom for at least ten minutes.

Drain the cold water away and then add 1 tablespoon of boiling water, stir to dissolve gelatin. Allow to cool.


Combine the cream, vanilla and cool dissolved gelatin in a bowl and whip until thick peaks form

Monday, 13 February 2017

Choux Pastry

I rarely make choux pastry, however, there was a time when it seemed that I was making it all the time. Choux pastry is the base for profiteroles and eclairs.


It is not difficult to make with a food processor or heavy duty mixer although the beating by hand is hard work. The paste must be well beaten until glossy, this helps develop the gluten in the flour.


The paste is cooked and then eggs are beaten into the flour mixture.


The paste can be piped or spooned onto a tray or baking parchment.


If making profiteroles or puffs it is easy to just spoon the mixture onto the trays.

The puffs must go into a hot oven so that the high moisture content of the paste is converted to steam causing the puffs to expand and rise or puff up. Once cooked the heat is reduced so that the puffs can dry out inside, residual paste can be removed and the puffs returned to the oven to dry out further.


The yellow 'claggy' middle can be removed.


Fill puffs/ eclairs with whipped cream, pastry cream/custard or chocolate pastry cream/custard and ice with melted chocolate.


Profiteroles have a chocolate sauce.


A large puff filled with whipped cream and fresh berries are a delicious dessert.


Salambbo, puffs with whipped cream/custard filling and a toffee coating.

Choux Pastry

1 cup flour
1 cup water
125 g butter
3 eggs

Method
Put water and butter into a medium saucepan and bring to the boil. 
Reduce the heat and then add the flour all at once and stir until the mixture forms a smooth ball.
Allow the mixture to cool for a few minutes then beat in the eggs one at a time. Beat thoroughly until mixture is glossy and smooth. Use a food processor or electric beater if you have one.
Cool thoroughly before using the mixture. It can be refrigerated.
Spoon or pipe the paste onto trays lined with baking parchment
Bake at 220 deg C for 15 - so minutes and then reduce the heat to 180 deg C.
Cook until golden brown.


Sunday, 27 November 2016

Round and Round the Mulberry Tree

 Mulberries are not a fruit that seem to be around or grown commercially but are a fantastic fruit for compotes, jam, ice creams and parfaits. They are intensely coloured and stain everything that they come in contact with, best to wear disposable gloves for picking and processing. My first experience of mulberries had me hooked.


It really has been a case of round and round the mulberry tree. My friend Nicole has a large spreading tree that is loaded with fruit. 'Pick as many as you like' she said so I did, two buckets.  


My favourite way to have them is as a compote. The mulberries hold their shape during the cooking process and are tart enough to counteract the sweetness of the syrup.  Add a splash of brandy and serve with good vanilla icecream, cream or yoghurt for a delicious dessert.


Great for breakfast with some yoghurt and granola or muesli


Or with a wedge of hazelnut and mulberry cake


Any leftover syrup is used to stew prunes or rhubarb. The syrup is also good as a topping on icecream.


Mulberry Compote
1 cup water
1/2 cup sugar
500 g mulberries, stalks snipped off and washed.
1/4 cup brandy (optional)

Place sugar and  water in a saucepan. I like to use a shallow pan or deep frypan.
Bring the mixture to the boil, stir to make sure the sugar has dissolved and the simmer until the mixture becomes a little thicker and syrupy.


Add prepared mulberries and simmer for five to ten minutes, stirring gently to avoid breaking up the mulberries. The syrup will become a purple colour as the mulberries release some juice.


Remove mulberries from the syrup using a slotted spoon.


Continue to simmer the syrup until it is quite thick. Add brandy if desired.

Pour the hot syrup over the mulberries. Refrigerate in an airtight container.

//